12 Nov 2026
How to choose name badges for conferences
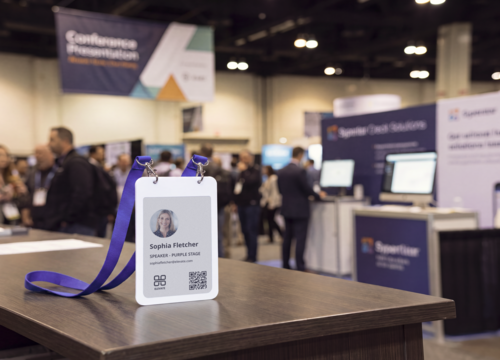
Watch the first few seconds of any conversation at a conference. Both people glance down at a badge. If the name is tiny, flipped the wrong way or hidden under a jacket, that glance turns into a squint and an awkward “sorry, what was your name again?”
Name badges for conferences look like a small line on the budget, but they do a lot of work. They help attendees start conversations, tell staff who goes where, and set the pace at the registration desk on your busiest morning. Pick the wrong type and you’ll feel it: reprints for typos, queues for walk-ins, and a box of plastic holders and lanyards nobody knows what to do with afterwards.
This guide compares the main types of conference badges, shows what to put on them, gives you size and font rules that hold up across a room, and helps you choose the right badge for your next event.
Quickly jump to:
- What makes a good conference name badge
- Types of name badges for conferences
- What to put on a conference badge
- Conference badge design: size, font and readability
- Color-coding attendees, speakers, exhibitors and staff
- Getting badges ready for registration day
- When reusable ePaper name badges make sense
- How to choose name badges for your conference
- Pick a badge your attendees can actually read
- Frequently asked questions
TL;DR
- Good name badges for conferences are easy to read from a few meters away: a large first name, a smaller company name, a small logo, and nothing else competing for attention.
- Your main options are adhesive labels, paper inserts in plastic holders, printed PVC cards, magnetic or pin badges, badges printed on site, and reusable ePaper badges.
- A common standard for printed conference badges is 4″ × 6″ (about 10 × 15 cm), with the first name in 72pt or larger. Print both sides or use a holder that can’t flip.
- Decide your roles (attendee, speaker, exhibitor, staff) before you design anything, and mark each one with a color and a word.
- If you run events often or expect walk-ins and late changes, a reusable ePaper badge lets you fix a name in seconds and use the same badges again next time.
- Keep reading for a side-by-side comparison and a simple way to match the badge to your event.
What makes a good conference name badge
A good conference name badge does three jobs. It tells people who you are at a glance, it tells staff what you’re there for, and it survives a full day of being worn, sat on and leaned over. Here’s what that looks like in practice.
- It’s readable from across the room. Most badge design guides use the same test: can someone read the first name from about 4.5 meters (15 feet) away? If they have to step closer and stare at your chest, the badge has failed at its main job.
- It stays facing forward. A badge on a single clip spins, and half the room ends up showing the blank back. A holder that attaches at two points, or the same details printed on both sides, solves it.
- It shows the role without a lookup. Staff at the door, session hosts and exhibitors should see in one look whether someone is a speaker, an exhibitor or a guest.
- It’s easy to produce and change. Names get misspelled, colleagues swap places and people register the night before. A badge that’s easy to fix saves your team at the exact moment they’re busiest.

Types of name badges for conferences
Conference badges range from a sticker you write on at the door to a reusable screen you update at check-in. Each one fits a different kind of event.
Adhesive name labels
The quickest and cheapest option. You print them from a list or let people write their own. They work for short meetups and one-day workshops, but they peel off some fabrics, look informal, and leave no room for role information.
Paper inserts in plastic holders
The most common conference badge. You print a sheet of inserts from your registration list and slide each one into a holder on a lanyard. Holders and lanyards can be collected and used again; the paper inserts can’t. A typo means printing a new insert.
Printed PVC cards
Sturdier and more polished, so they suit multi-day conferences, VIP programs and staff. You need a card printer or an order placed well ahead, which makes late changes harder.
Magnetic and pin name badges
Printed or engraved name plates that attach with a magnet or a pin. They’re a good fit for staff, hosts and volunteers who come back event after event, and rarely practical for one-time attendees.
Badges printed on site
Many registration platforms print a badge the moment a guest checks in. That handles walk-ins well, but you’ll need printers, badge stock and power at the desk, and a printer jam at peak time slows the whole queue.
Reusable ePaper badges
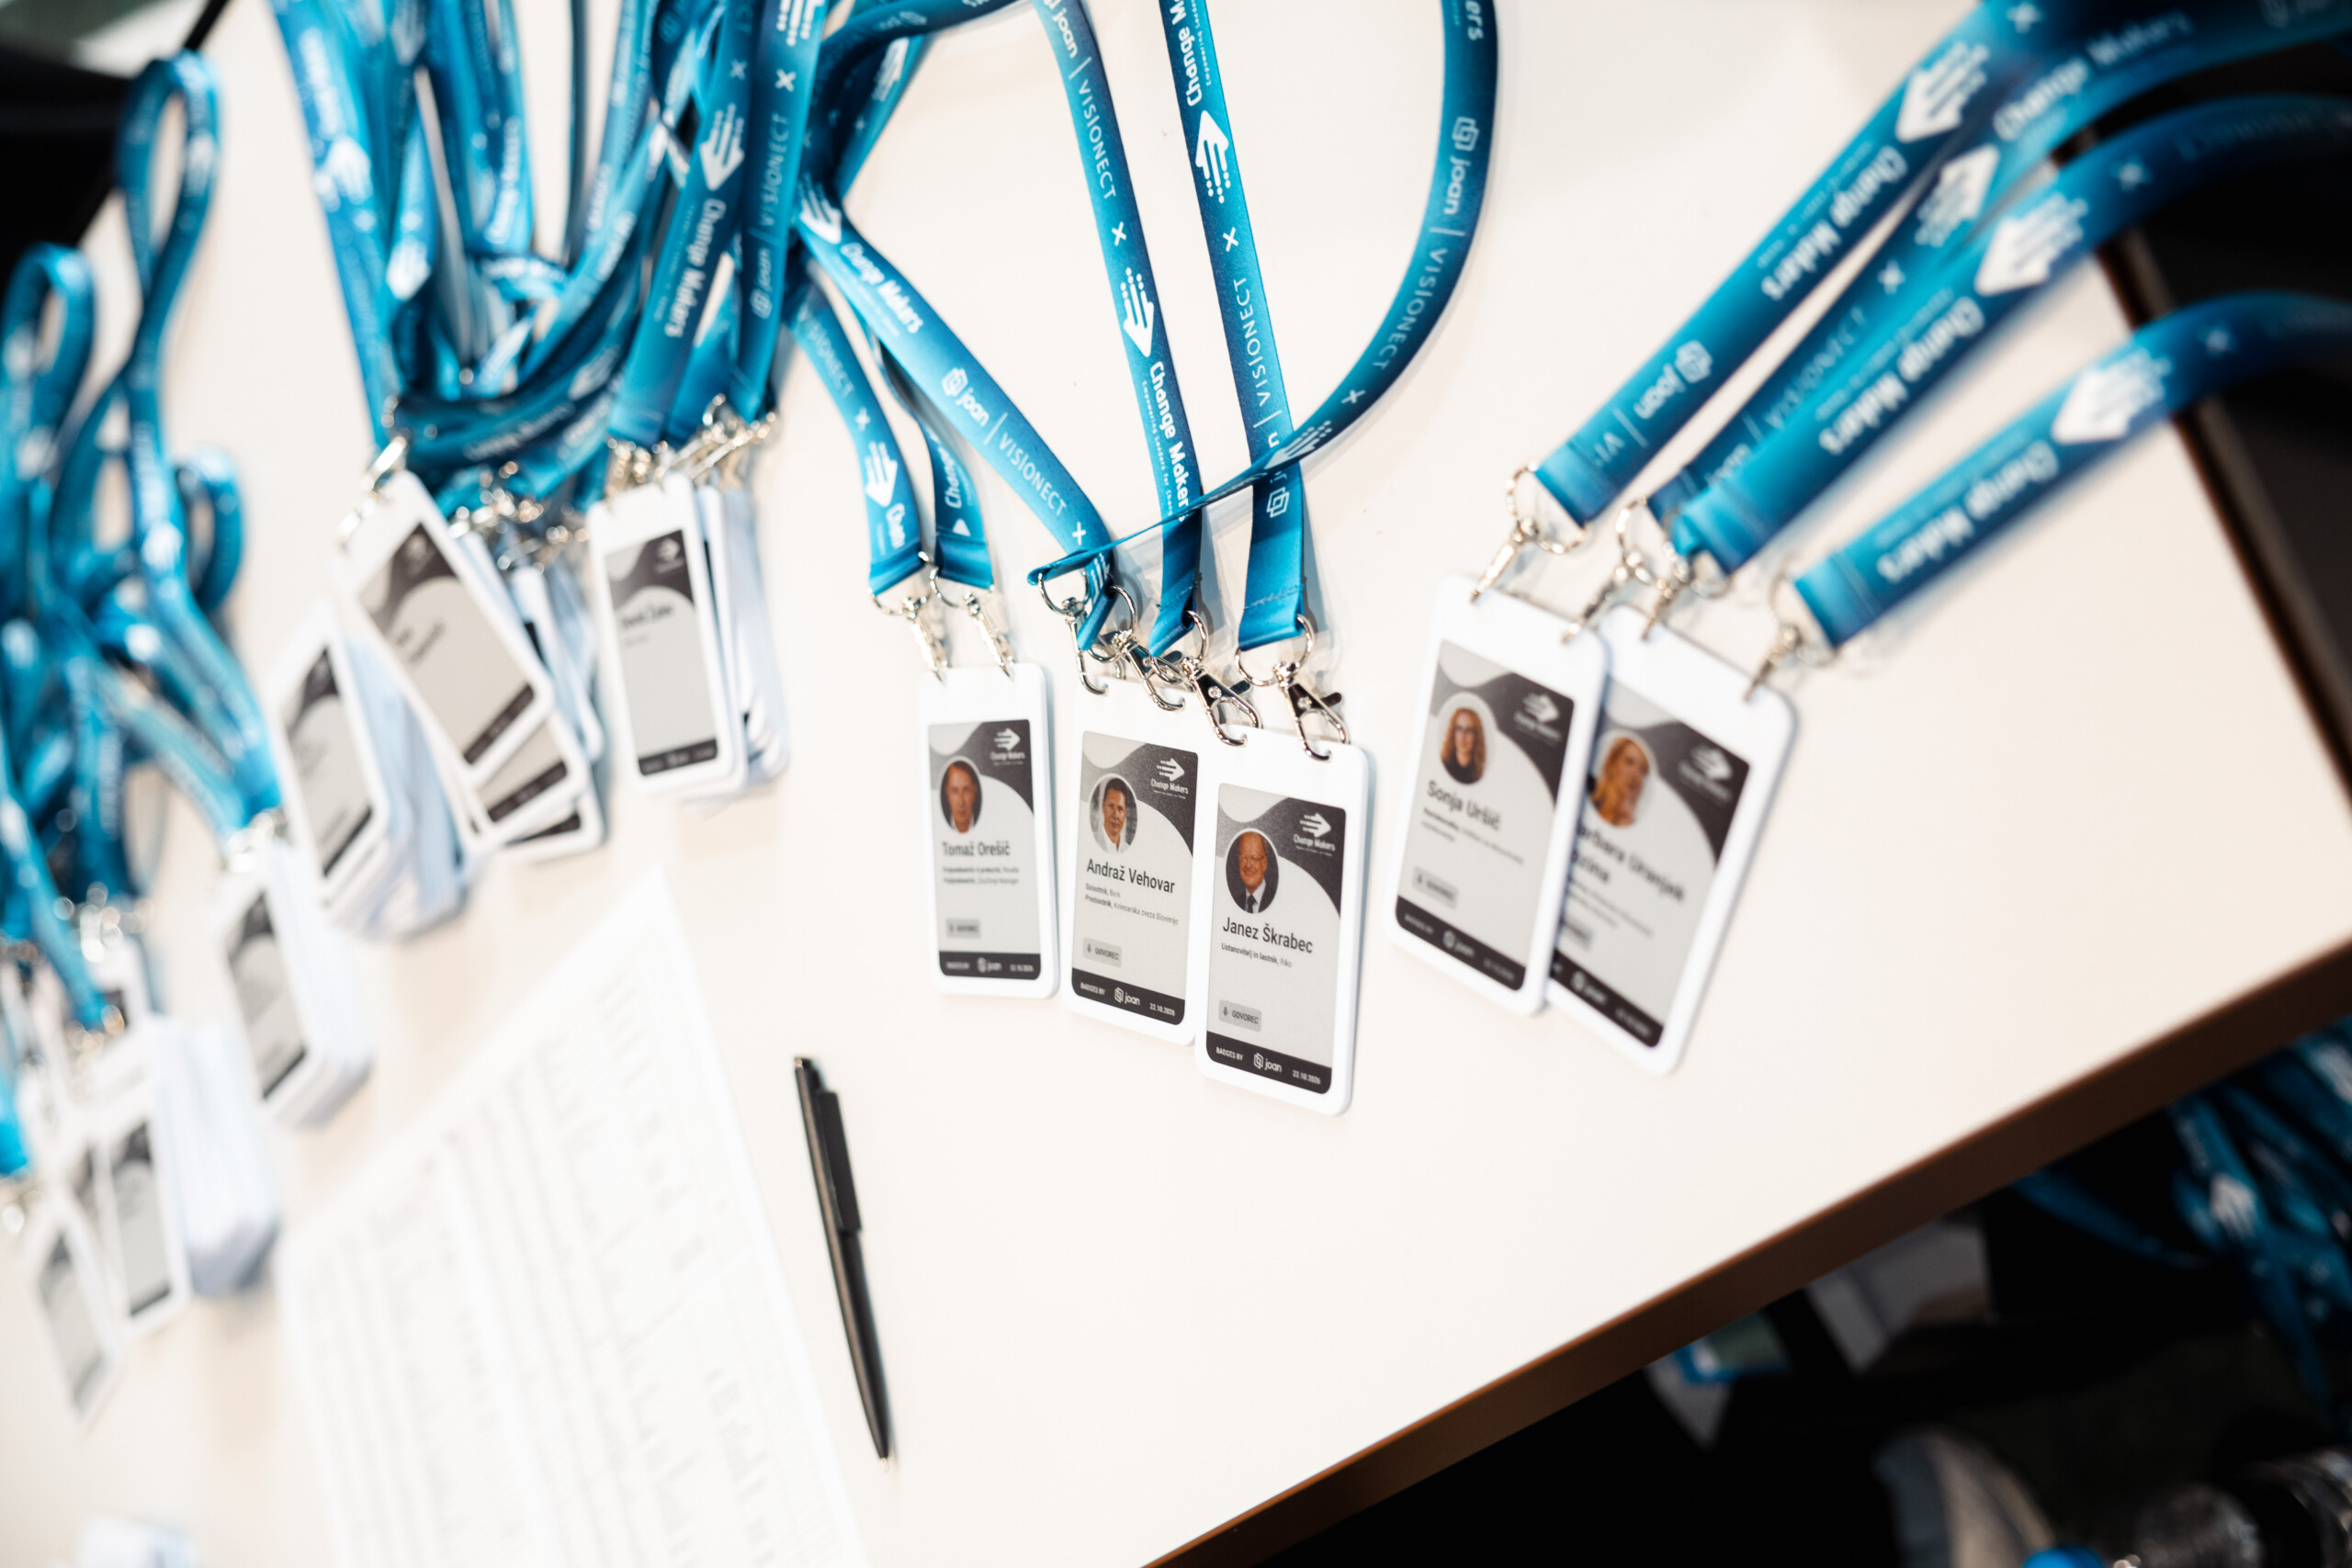
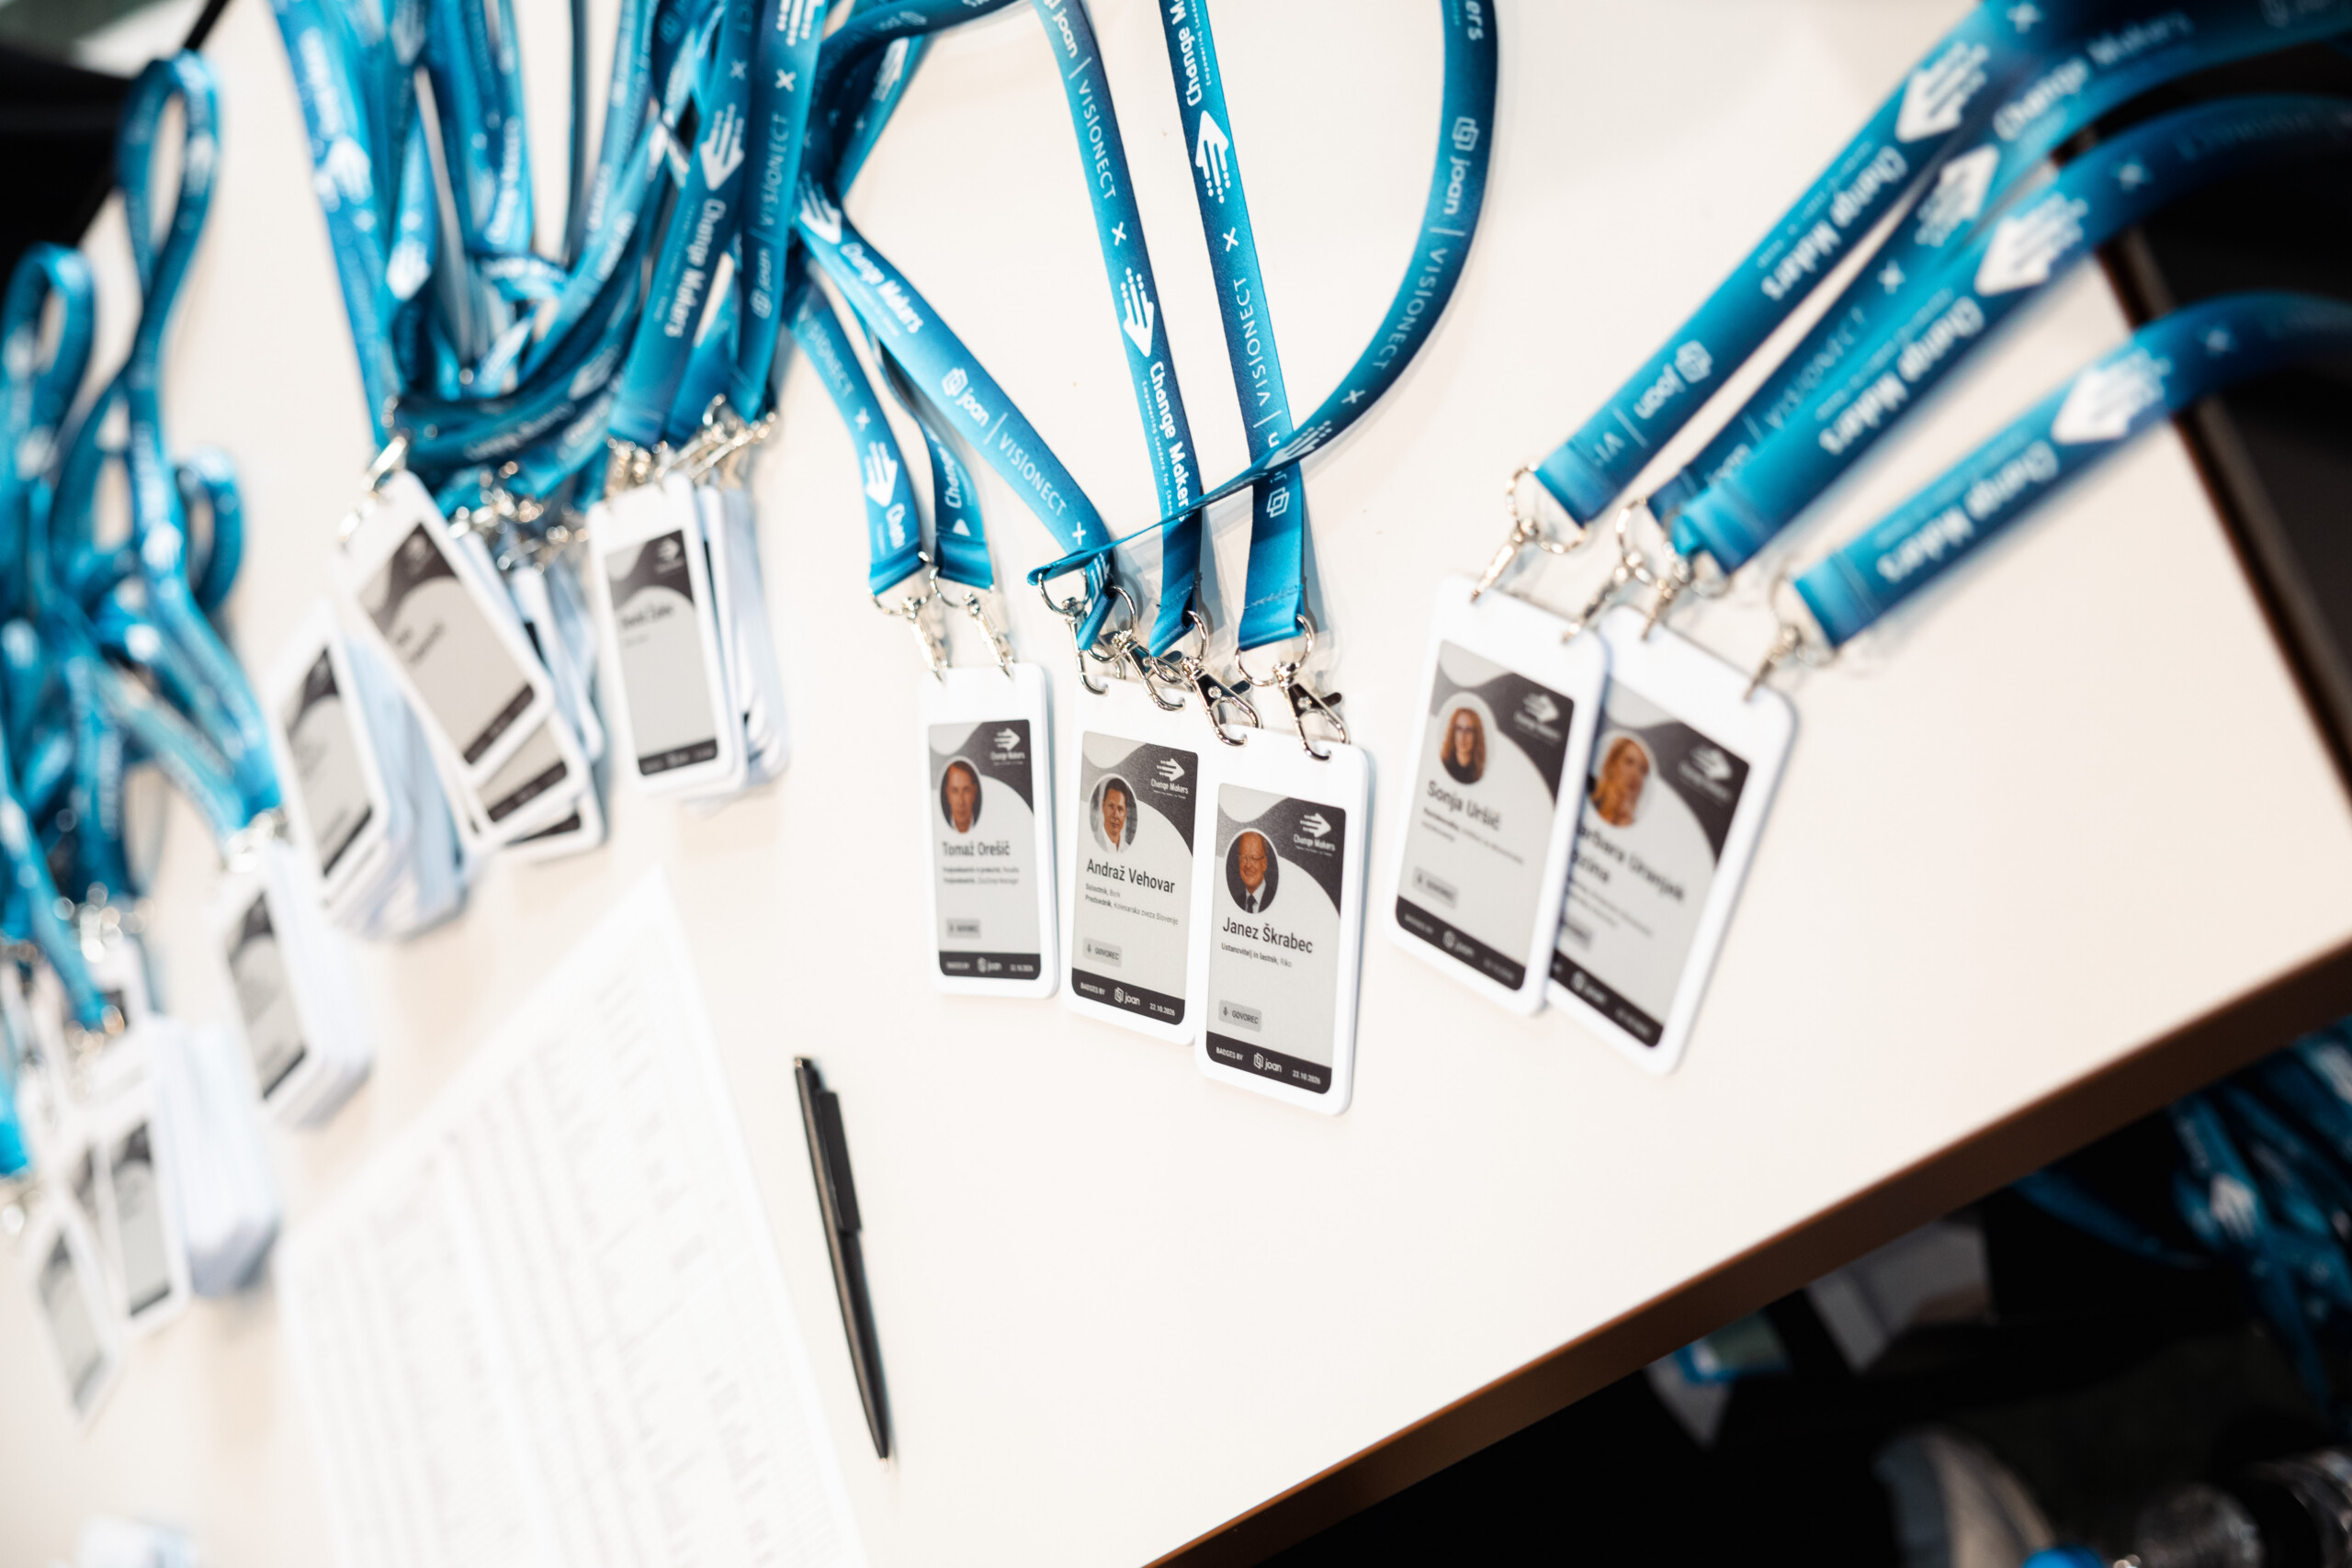
A thin badge with an electronic paper screen that you write at check-in or in batches before doors open. Names and roles change in seconds, and the whole badge is collected and reused after the event. You can see how this works in practice with Joan event badges.
Conference name badge types compared
How the most common types of conference badges compare on late changes and reuse.
| Badge type | Best for | Late changes | Reuse after the event | Watch out for |
|---|---|---|---|---|
| Adhesive labels | Short meetups, one-day workshops | Write or print a new label | No | Peels off, looks informal |
| Paper insert in a holder | Most conferences | Reprint the insert | Holders and lanyards only | Print deadline, badges flipping |
| Printed PVC card | Multi-day events, VIPs, staff | Reprint the card | Rarely | Lead time, cost per card |
| Magnetic or pin badge | Staff, hosts, volunteers | Order a new name plate | Yes, for the same person | Not practical per attendee |
| Printed on site | Events with many walk-ins | Print again at the desk | No | Printers, stock, queues at peak |
| Reusable ePaper badge | Recurring events, frequent changes | Resync in seconds | Yes, the whole badge | Collecting badges at the end |
What to put on a conference badge
Every extra line on a badge makes the name smaller. Put the details in this order, and stop when the badge starts to feel crowded:
- First name, as large as the badge allows. It’s what people use in conversation.
- Last name, smaller than the first name.
- Company or organization, the second thing most people look for.
- Role or attendee type, such as speaker, exhibitor or staff, shown with a color and a word.
- Event name or logo, small and at the bottom. Attendees already know which event they’re at.
- Optional extras: pronouns, a short “ask me about” line, or a QR code for check-in and lead capture, ideally on the back.
Leave off the dates and venue, long job titles, full sponsor lists and personal contact details. Only show what attendees agreed to share when they registered, and ask for it in the registration form so you’re not guessing later. For more on adding details per guest, see our guide to custom event badges.
Conference badge design: size, font and readability
Conference badge design comes down to one question: can people read it without stopping? These rules come up again and again in event design guides, and they’re easy to check before you print.
Size
4″ × 6″ (about 10 × 15 cm) is a common standard for printed conference badges, and 3″ × 4″ is widely sold too. A smaller badge isn’t wrong, it just means fewer elements. Keep the name and company and drop the rest.
Font
Use a simple sans-serif font, and write names in normal capitalization rather than all caps. On a 4″ × 6″ badge, aim for a first name of at least 72pt. Dark text on a light background is the easiest to read under conference lighting.
Layout
Put the name in the top half. Lanyards hang at chest height, and tables, bags and jackets tend to cover the bottom of a badge. Keep the event logo small at the bottom, and print the same details on both sides.
Test it before you print
Print one badge, hang it on a colleague, and read it from across the room in the venue’s lighting. Then try the longest name on your list. If it doesn’t fit on one line at a readable size, set a rule for long names before the print run, not at the desk.
[IMAGE NEEDED: annotated conference badge layout showing a large first name, smaller last name and company, a colored role band and a small logo at the bottom | alt text: Conference name badge layout with a large first name, smaller company name, colored role band and small event logo | filename: conference-name-badge-layout.webp]
Color-coding attendees, speakers, exhibitors and staff
Decide your roles before you design anything. A typical conference needs four to six: attendee, speaker, exhibitor or sponsor, press, staff or volunteer, and sometimes VIP.
- Use a color and a word. A colored band or background is fast to spot, and a printed label such as “Speaker” makes it clear for people who can’t tell the colors apart.
- Keep the palette short. More than six colors and nobody remembers what they mean.
- Brief your staff. Give the door team and session hosts a one-page legend of what each color allows.
- Add ribbons for extras. First-timers, mentors or award winners can wear a ribbon instead of getting a new badge type.
Getting badges ready for registration day
Most badge problems show up in the first half hour of registration. A little preparation keeps the queue moving.
Clean your attendee list
Export one spreadsheet with separate columns for first name, last name, company and role. Check for duplicates, odd capitalization and missing companies. The badge will only be as good as this file.
Plan for late changes and walk-ins
Printed badges need a cut-off date, and something always changes after it: a colleague replaces a registered guest, a speaker’s title changes, someone walks in on the day. Keep blank stock or an on-site printer for those, and a separate line so walk-ins don’t hold up pre-registered guests.
Sort badges for a fast desk
Sort badges by last name and split them across desks (A to K, L to Z). Give speakers and VIPs their own spot so they don’t queue behind everyone else.
Plan what happens after the event
Put collection boxes at the exits for holders and lanyards. It’s an easy way to cut waste, and a must if you’re using reusable badges. Our step-by-step guide to running an event with ePaper badges covers the timeline, the desk and badge returns in detail.

When reusable ePaper name badges make sense
A reusable ePaper badge looks like a slim badge but has an electronic paper screen instead of a printed card. The Joan ePaper badge has a 4-inch screen in black, white, red and yellow, weighs 29.4 g, and is written over Bluetooth from a tablet at the check-in desk.
That changes how registration day feels. Walk-ins get a badge the same way pre-registered guests do. A misspelled name is a quick resync from the same device, not a trip back to the printer. Each badge can hold up to six screens that guests switch with a button, for example a name, an agenda and a sponsor screen. After the event, you collect the badges, clear them, recharge them wirelessly and use them again.
When the Change Makers 2026 conference switched to Joan badges, it gave more than 300 guests personalized event badges, with walk-in badges ready in seconds.
Reusable badges make the most sense when:
- You run several events a year, so the same badges keep coming back.
- Late registrations, swaps and name fixes are normal for your events.
- You report on event waste. ISO 20121:2024 lets organisers show conformity through supplier validation, so a reusable badge gives you a documentable supply-chain fact. You can also read the math on printed badge waste.
- You also want badges for office visitors and employees. The same badge works for visitor ePaper badges and staff ID.
They’re a weaker fit for a one-off event where you can’t collect badges back. Two more things to plan for: the badge (66 × 104 mm) is smaller than a 4″ × 6″ printed badge, so keep the layout to name, company and role, and custom branding and QR codes aren’t available on the standard templates yet.

How to choose name badges for your conference
Start with four questions: How many people are coming? How late can they register? Will you run this event again? Can you collect badges at the end? Then match your answers to the table below.
Which conference badge fits your event
A quick way to match the type of event to the type of name badge.
| Your event | Good fit | Why |
|---|---|---|
| Small meetup or one-day workshop | Adhesive labels or paper inserts | Low effort, and nobody needs to collect anything |
| Conference with a fixed guest list | Paper inserts in holders, printed on both sides | Easy to print in one run from a clean list |
| Large conference with many walk-ins | On-site printing or reusable ePaper badges | New and corrected badges at the desk, no pre-printing |
| Multi-day conference or VIP program | PVC cards or reusable ePaper badges | Badges that hold up for several days of wear |
| Recurring events and event series | Reusable ePaper badges | The same badges come back for every event |
| Staff, hosts and volunteers | Magnetic or pin badges, or reusable badges | One badge per person, used again and again |
Tip:
Mixing types is fine. Many events give staff a permanent badge and attendees a single-event one.
If two answers point in different directions, let the late changes decide. A badge that’s easy to fix will save you more stress on the day than one that’s slightly cheaper per piece. For a broader look at what modern badges can do, see smart badge technology compared with traditional badges.
Pick a badge your attendees can actually read
The best name badge for your conference is the one people can read from across the room, that your team can fix without a reprint, and that doesn’t end up in the bin the next morning. Get the size and font right, decide your roles early, and plan for the changes you know will come.
If you run events regularly, take a look at Joan event badges, see how they performed at a real show in the UMEK 5.0 event story, or check Joan pricing. Tell us about your next event and we’ll help you plan the badges.
Frequently asked questions
What size should a conference name badge be?
A common standard for printed conference badges is 4″ × 6″ (about 10 × 15 cm), and 3″ × 4″ badges are also widely used for smaller events. What matters most is that the first name is readable from about 4.5 meters (15 feet). On a smaller badge, such as a 66 × 104 mm ePaper badge, keep the layout to name, company and role.
What information should be on a conference name badge?
Put the first name first and largest, then the last name, company and role. Add the event logo small at the bottom. Leave off dates, the venue and personal contact details unless attendees agreed to share them, and put any QR code on the back.
How big should the name be on a badge?
On a 4″ × 6″ badge, aim for a first name of at least 72pt in a simple sans-serif font. Use normal capitalization rather than all caps, which is harder to read at a distance. Print a test badge and read it from across the room before the full print run.
Which side should you wear a name badge on?
If it clips or pins on, wear it on the right side of your chest. When you shake hands with your right hand, the other person’s eyes follow your arm to that shoulder. Badges on a lanyard hang in the middle, so keep the lanyard short enough that the badge sits above a table.
Where can I get name badges for a conference?
Printed badges are available from online badge printers and local print shops, and many registration platforms can print badges at check-in. For reusable badges, you can order Joan ePaper badges with no minimum order. Talk to the Joan team first so the setup matches your event.
How do you handle walk-ins and name changes at check-in?
Give walk-ins their own line and keep blank stock or an on-site printer ready, so they don’t slow down pre-registered guests. With reusable ePaper badges, the desk writes a new badge on the spot and fixes a misspelled name with a quick resync, so nothing gets reprinted.
Are reusable name badges worth it for conferences?
They pay off most when you run several events a year, expect late changes, or need to report on event waste, because the same badges come back every time. For a single event where you can’t collect badges back, printed badges are usually simpler. Joan badges also need a Joan account and a license per badge.