4 Nov 2026
How to run your event with ePaper badges
This guide helps you plan and run an event with Joan ePaper badges instead of paper name tags. You run the whole process yourself in the Joan app, from importing attendees to preparing, handing out, collecting and releasing the badges. It combines general event-registration best practice with first-hand experience from live events using the badges. A smooth badge event depends on three things being settled early: a clean attendee list, final badge designs, and a registration desk staffed and laid out for speed.
Quickly jump to:
- What are ePaper event badges?
- Start planning at least four weeks out
- Get the attendee list right
- How many badges to pre-produce
- Design a badge that reads across the room
- Run the registration desk for the peak
- During the event
- Badge count and return
- Who does what
- The event organiser’s checklist
- One system for events, visitors, and employees
- Final thoughts
- Frequently asked questions
What are ePaper event badges?
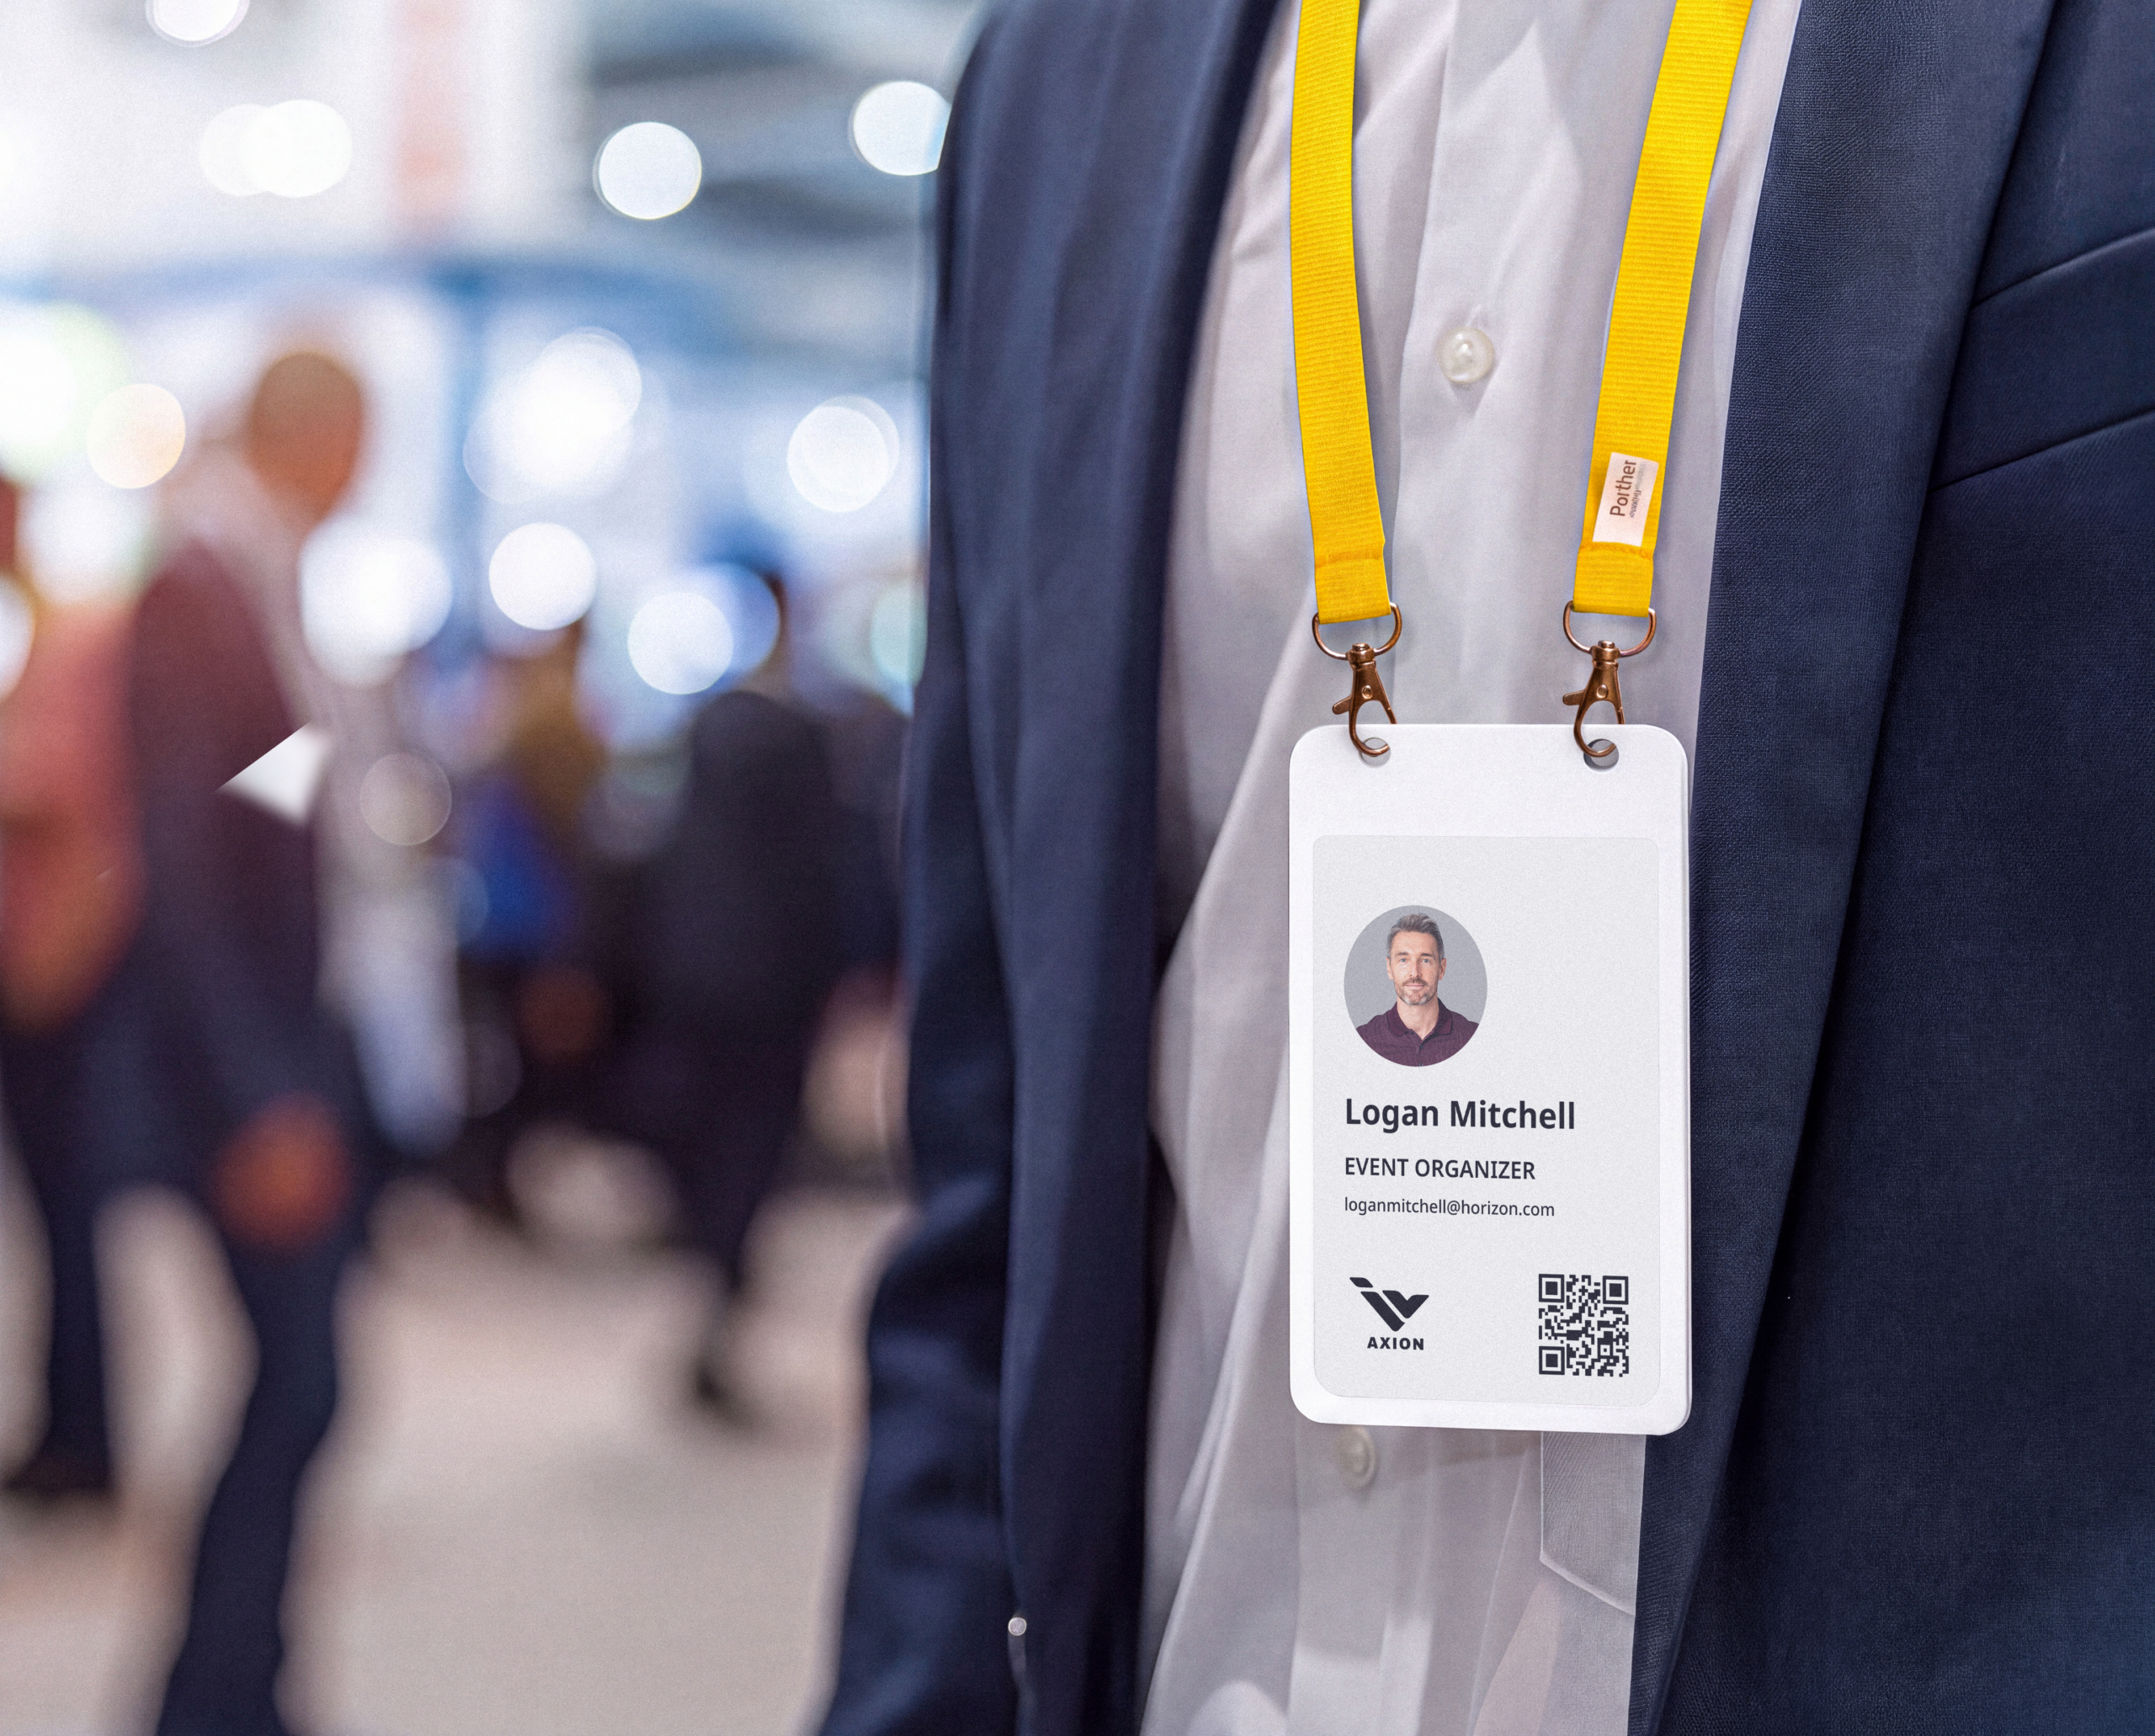
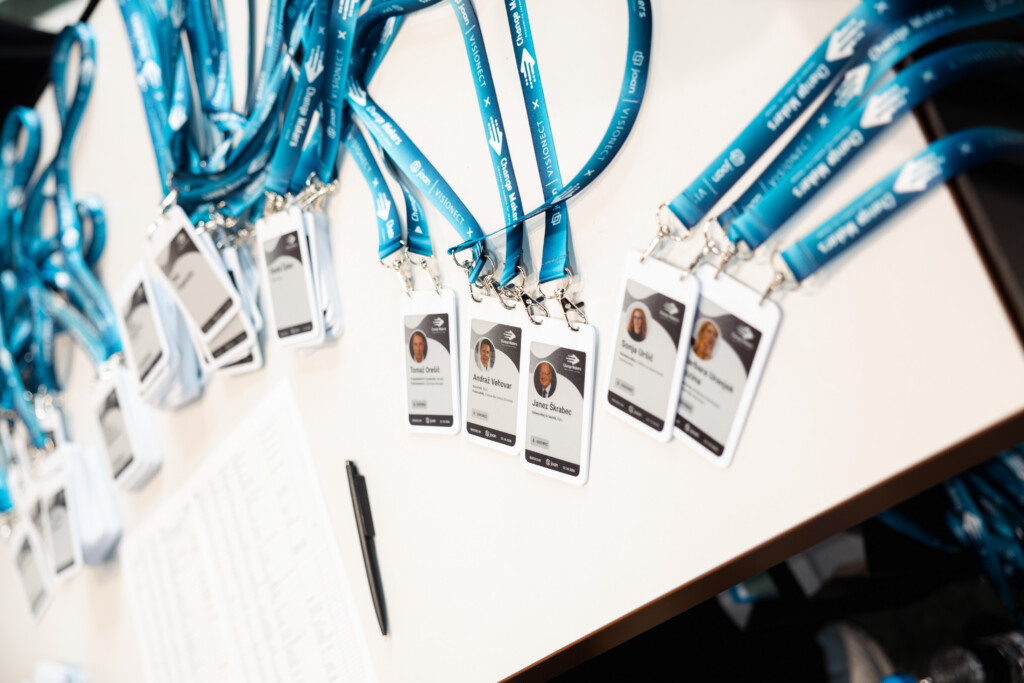
ePaper event badge are reusable electronic badges for events. Instead of a printed card, each badge has a small electronic-paper screen that is written from your attendee data and can be rewritten whenever that data changes. Each badge can hold up to six screens (for example name, agenda QR code, sponsors, a thank-you message) that the attendee switches with a button on the back. Screens can be personalised per attendee, shared across all badges, or scheduled to appear at a set time. Badges are prepared over Bluetooth before the event and can also be created on site for walk-ins.
One property is worth naming early: the badge belongs to the organiser, not the attendee. You write someone’s details to it at check-in, they wear it for the event, and at the end you collect it, clear it, recharge it, and use it again at your next event. That single fact, that the badges are yours and come back, shapes the whole operation, from how you prepare data to how you staff the exit.

Start planning at least four weeks out
Settling requirements, designs and the attendee list early leaves time to test everything on real badges before doors open. Leave any of them to the last week and the pressure lands exactly where you can least afford it, on the morning of the event. The timeline below is the one to work backwards from.
Any change after the cut-off is still possible, but it is handled on site and slows registration, so agree in advance how urgent changes get approved and who can approve them.
| When | Milestone | What is settled |
|---|---|---|
| 4 weeks before | Agree the setup | Which screens the badge shows, templates per attendee type, and any special functions. Name one person responsible for the badges, from preparation to return. |
| 3 weeks before | Lock the data format | Agree the attendee spreadsheet format, with a stable ID per attendee. Import a 5–10 row sample into the app and check the badge preview before real data is collected. |
| 2 weeks before | Finalise designs | Every design tested on a physical badge: colours, readability, QR codes. Shared and scheduled screens signed off. |
| 3 working days before | Final attendee list (cut-off) | The last list, with changes marked. Later additions are added on site as single attendees. Prepare up to 200 badges in the app and load shared screens in advance. |
| Event day | Registration and return | Badges counted out to the desk by category, hosts briefed, lanes signed by surname range, the badge explained from stage, returns collected and counted on site. |
| Day after the event | Count and release the badges | Count the returned badges and unassign them from the event in the app, so they are available for reuse at your next event. |
Get the attendee list right
The quality of your attendee list decides how fast badges can be prepared and how fast guests find them at the desk. Late changes and spreadsheet formats nobody agreed on in advance are the two most common sources of extra work, and both are avoidable. A few rules carry almost all of the benefit.
Agree one spreadsheet format before you collect a single registration
A ready-made attendee template is coming to the Joan app; until it lands, fix the columns and format yourself. Import a 5–10 row sample into the app and check the badge preview before the final list is due, so a formatting problem surfaces while there is still time to fix it rather than on cut-off day.
Give every attendee a stable ID
Keep the same identifier (for example 1042, and never 1042.0 in a later export) across every version of the list. Updates are matched by ID, so a changed or reformatted ID creates a duplicate badge. This is the single most common cause of double badges at the desk.
Fill the required fields consistently
First name, last name, company, job title, and attendee type (for example Speaker, Partner, Staff, Attendee). Decide upfront how you will handle the awkward cases, the person with two roles or two companies, so it is a rule and not a judgement call during preparation, and test it in the app as soon as possible by checking the badge preview.
Put photos inside the cells
If speaker badges carry a photo, the image has to sit in the spreadsheet cell. Images floating over the sheet are not imported.
Send changes as a marked update, not a new list
Flag each row as added, changed, or removed. A fresh full list forces whoever prepares the badges to diff it by hand, which is slow and error-prone.
Respect the cut-off
The final list is due three working days before the event. Anyone added after that is created on site with the app’s option to add a single attendee, which is fine by design, as long as everyone knows that is the deal.
How many badges to pre-produce
Pre-produce 100–200 badges before the event; that is the sweet spot. Below that number, preparing everything in advance is simplest. Above roughly 200 attendees, produce the remainder on site at a dedicated badge station rather than trying to prepare the entire list in advance. This matches the wider industry rule of pre-printing for smaller groups and producing on demand above about 200 attendees (i4a).
Whatever your number, always keep a reserve of blank badges for walk-ins and name changes: about 10% of expected attendance. With reusable badges the economics of a reserve are forgiving, an unused badge is simply cleared and used next time, so err on the side of a few spare rather than a few short.
Design a badge that reads across the room
Keep the badge simple. One personalised screen and two or three shared screens is plenty, and every screen must be final and tested on a real badge before badges are prepared. A reusable ePaper badge can hold up to six screens that the wearer cycles through with a button on the back, and it helps to think about them in three types.
| Screen type | Example content | When it is loaded |
|---|---|---|
| Personalised | Name, company, job title; photo for speakers | During badge preparation, per attendee |
| Shared | Event visual, “press the button for more”, agenda QR code, sponsors | Before the event, on all badges at once |
| Scheduled | Thank-you message, next-year registration QR code | Before the event, set to appear at a time of day |
A handful of design rules decide whether the badge works at the door or quietly fails:
- Decide templates per attendee type early. Speakers, partners, staff, and attendees can each get their own first screen. Templates will be offered in the Joan app; agree the full set before design starts, not after.
- Upload shared screens ahead of time. When badges are produced on site and mix shared and personalised screens, the shared screens must already be on the badge; on site, only the personalised screen is added. Loading shared content in advance is what keeps the on-site station fast.
- Design for ePaper, not for your monitor. Use only the colours the badge supports; unsupported colours render as white. Test every design on a physical badge, and judge previews at 100% zoom, because smaller zoom levels distort fine patterns and flatter a design that will not actually hold up.
- Make names readable from a distance. Large, bold first and last names. The working guideline for name badges is that they should be legible from about two metres (i4a), which is roughly the distance at which people decide whether to walk over and say hello.
- Remember that QR codes need light. A QR code on ePaper has no backlight and cannot be scanned in a dark hall. Put QR screens where the light is good (registration, the foyer), tell guests to use their phone flashlight, or also show the code on the stage slides. Designing a beautiful agenda QR that nobody can scan in the main room is a classic avoidable mistake.
Run the registration desk for the peak
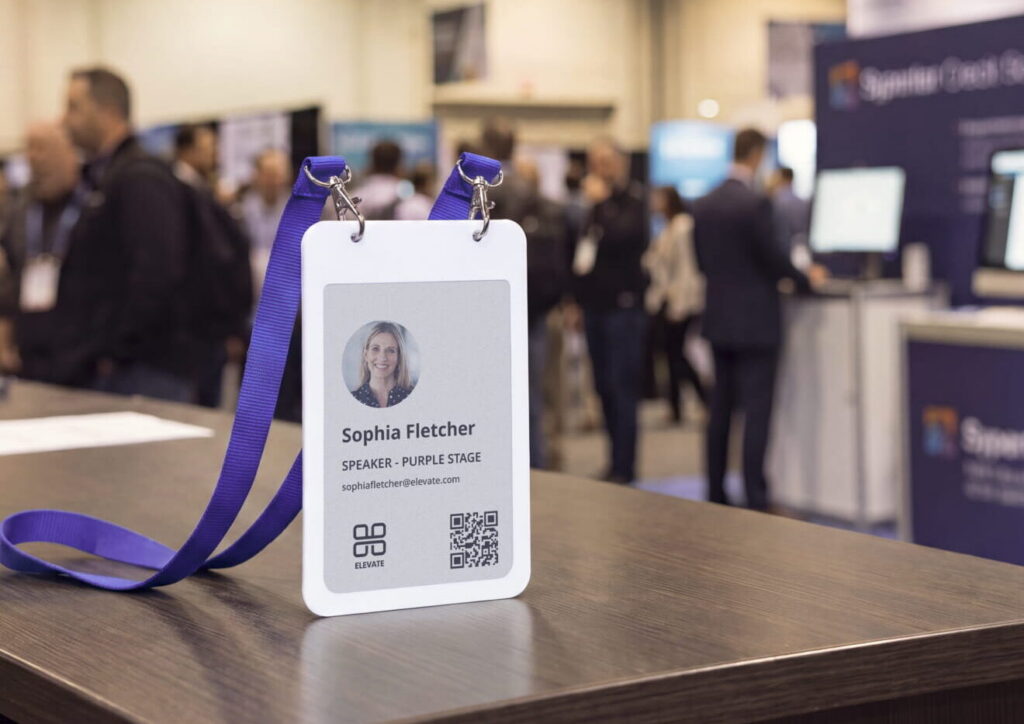
The registration desk is where most of your attendees form their first impression of the event, and where a badge operation visibly succeeds or fails. The thing to design for is the peak: most guests arrive in the 30–45 minutes before the programme starts (streavent), not spread evenly across the morning. When hosts work alone and guests do not know which line to join, queues build fast and some people drift in without ever collecting a badge.
Layout
- One lane per surname range (for example A–F, G–M, N–Z), with badges laid out alphabetically by the first letter of the last name within each lane so a host can find anyone in seconds. For two-word last names, use the first word (Novak Cavanaugh goes in the N batch).
- Large signs above each lane, readable from a distance, so guests join the right line straight away. Use stanchions or floor markers to shape the queues (BizBash).
- A separate walk-in and name-change station, with the laptop or tablet for on-site badge creation, set away from the main lanes so it never slows them (i4a).
- Badge preparation a few metres from the prepared badges. On-site preparation works most reliably when the badge station stands apart from the boxes of pre-produced badges, so the two do not get mixed up.
- Enough desk space, with lanyards already attached, so the surface does not disappear under a pile of loose lanyards during the rush.
Staffing
- Work in pairs per lane. One person finds the guest on the list and checks them in; the other picks the badge and hands it over. A pair handing out pre-sorted badges is the fastest configuration there is.
- Use a laptop or tablet with search, not a printed list, to check guests in. If paper is genuinely unavoidable, print it in a large font.
- Add a greeter and a floater. The greeter directs people to the right lane before they join a queue; the floater jumps to whichever lane is busiest.
- Brief every host before doors open. How the badge works, how badges are sorted, what to do with walk-ins, and that badges are collected at the end. A 15-minute walkthrough at the desk is enough and pays for itself in the first ten minutes.
- Make sure nobody enters without a badge, and that everyone returns the badge when they leave. Agree with the venue exactly where the entrance and exit checks happen.
As a planning benchmark, one check-in station handles about 25 guests per hour when badges are produced on demand (i4a). Pre-sorted badges handed out by a pair move faster than that, but use the benchmark to sanity-check how many lanes you need against your expected peak.
During the event
Guests do not discover on their own that an ePaper badge is interactive, so tell them twice, at registration and from the stage.
- Announce the badge from the stage at the opening. It is a reusable ePaper badge, press the button on the back to see more screens, and please return it on the way out. This is usually the exact moment guests start using their badges.
- Put a roll-up banner at registration showing how to use the badge and where to return it, so the message is there even for people who arrive after the announcement.
- Tie the badge into the programme. Point guests to the agenda or the audience-voting QR code on the badge when a session starts, and remind them to use their phone flashlight if the room is dark.
- Use scheduled screens for the finale. A thank-you screen that appears at a set time is a gentle, well-timed prompt to return the badge as people head for the exit.
Badge count and return
Because the badges are reusable and belong to you, two bookends matter that printed badges never needed: a count out when the badges go to the desk, and a staffed return when they leave. Returns deserve as much planning as registration, because the whole reusable model depends on getting the badges back and releasing them for the next event.
- Count badges out by category (for example Speaker, Partner, Attendee, blank reserve) when they go to the registration desk, and note the numbers.
- Give one person the single job of collecting badges at the exit, with a clearly marked return box. Do not lean on registration hosts for this, they are busy right up until the last guest arrives.
- Ask for the badge back three times: at registration, from the stage at the end of the programme, and on the scheduled thank-you screen. Three light prompts recover far more badges than one firm one.
- Count returned badges on site and note any difference against the numbers counted out, before the badges leave the venue.
- The day after the event, unassign the badges from the event in the app, so they are cleared, recharged, and ready for reuse at your next event.
The event industry has a strong check-in ritual and almost no check-out ritual, so badge recovery has to be designed into the event rather than hoped for.
Who does what
You, as the event organiser, run the whole badge process yourself in the Joan app. Clear ownership of each task prevents the two classic failures, a task nobody picked up and a task two people did differently. The split below is how to divide the work across your own team.
| Area | Event organiser |
|---|---|
| Attendee data | Agrees the spreadsheet format (template coming in the app); collects registrations in the agreed template; imports the list and checks the preview; sends to the cut-off |
| Badge design | Supplies brand assets; uses the templates offered in the app; tests designs on a physical badge |
| Badge preparation | Confirms final content and late changes; prepares badges and loads shared and scheduled screens |
| Badge count | Counts badges out by category before doors open |
| Registration desk | Provides hosts in pairs, signage, desk space, and a greeter; briefs the hosts; runs the walk-in badge station |
| During the event | Announces the badge from the stage; answers guests’ badge questions |
| Badge return | Staffs the return point; announces the return; counts badges back in and unassigns them in the app the day after |
The event organiser’s checklist
- Badge requirements, screens, and templates per attendee type agreed (4 weeks before)
- Spreadsheet format agreed; 5–10 row sample imported and preview checked (3 weeks before)
- Final designs tested on a physical badge (2 weeks before)
- Final attendee list sent with stable IDs (3 working days before)
- Hosts booked in pairs per lane, plus a greeter and a badge-return person
- Lane signs by surname range and a how-to roll-up banner ready
- Badges counted out by category before doors open
- Hosts briefed before doors open
- Stage announcement at the opening and a return reminder at the close
- Badges counted before leaving the venue
- Badges unassigned from the event in the app (day after the event)
One system for events, visitors, and employees
One advantage of a reusable ePaper event badge is that it is not only an events product. The same hardware and platform that badges your event also runs visitor check-in at an office front desk and employee identification day to day. What changes between the three is where the details come from and who owns the badge: an event badge is written from the attendee list and reused across events, a visitor badge writes itself at reception and clears on the way out, an employee badge syncs from the company directory. For an organisation that runs events and wants to modernise its front desk or staff IDs, that means one system and one supplier rather than three. You can see the shared hardware on Joan’s smart badge technology page.
Final thoughts
A good event badge looks effortless to the person wearing it, and that ease is the product of work done weeks earlier: a clean attendee list with stable IDs, designs tested on real hardware, a desk laid out for the morning peak, and a plan for getting the badges back. Get those right and the badge quietly does its job, the right name, readable across the room, in someone’s hand without a queue. Get them wrong and no amount of good design saves the door.
Reusable ePaper badges reward this kind of preparation especially well, because a wrong name is a resync rather than a reprint, a no-show costs nothing, and the same box of badges works your next event too once you have counted them back in and released them in the app. If you are planning an event and want to run it this way, explore Joan’s event badges, see the shared badge platform behind events, visitors, and employees, order a badge to test it yourself, or talk to the Joan team about your next event.
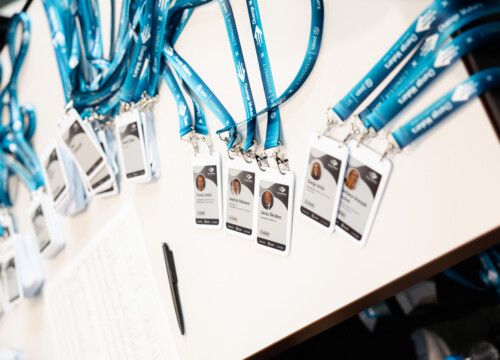
Photo credits: images courtesy of Change Makers
Frequently asked questions
What are ePaper event badges?
They are reusable electronic badges for events. Instead of a printed card, each badge has a small electronic-paper screen written from your attendee data and rewritten whenever that data changes. A badge holds up to six screens, a name screen, an agenda or programme QR code, a sponsor screen and more, that the wearer switches with a button on the back.
How far in advance should I plan event badges?
Start at least four weeks out. Agree the badge setup and screens at four weeks, lock the attendee data format at three weeks, finalise and physically test designs at two weeks, and set a final attendee-list cut-off three working days before the event. Anyone registering after the cut-off is added on site as a single attendee.
How many badges should I prepare before the event?
Pre-produce 100–200 badges. Below that, prepare everything in advance; above roughly 200 attendees, produce the rest on site at a dedicated station. Always keep a reserve of about 10% of expected attendance for walk-ins and name changes.
How do I speed up event check-in?
Design the desk for the peak, since most guests arrive in the 30–45 minutes before the programme. Run one lane per surname range with badges sorted alphabetically, staff each lane in pairs, add a greeter to direct people and a floater for the busiest lane, keep a separate station for walk-ins, and check guests in from a searchable device rather than a printed list.
What happens to the badges after the event?
Reusable badges are collected, cleared, recharged, and returned to the pool for the next event, because they belong to the organiser rather than the attendee. Plan the return deliberately: a dedicated collector at the exit, a marked return box, three return prompts (registration, stage, scheduled screen), a count on site before the badges leave, and unassigning the badges from the event in the app the day after so they are ready to reuse.
Can an ePaper badge show the agenda or a QR code?
Yes. A reusable ePaper badge can carry up to six screens, a name screen, an agenda or programme QR code, and a sponsor screen among them, that the wearer cycles through with a button. One caveat: ePaper has no backlight, so put QR screens where the light is good or ask guests to use their phone flashlight in a dark hall.
Can the same badge work for office visitors and employees too?
Yes. A Joan ePaper badge is the same reusable hardware, on the same platform, used for visitor badges and employee badges. It is configured for one role at a time, but one system covers events, the front desk, and staff IDs.