Behind every good meeting room booking system, such as Joan, is reliable scheduling software. For companies who use Outlook for scheduling meetings, this is your guide.
Most meeting room booking systems communicate back and forth with a program such as Outlook, keeping room schedules up to date. However, software is only as good as the user. Anyone who is scheduling a meeting in Outlook should know the basic ins and outs of the software to make sure the booking runs smoothly and professionally.
This guide will help set you up for success when scheduling a meeting.
Create the meeting
Open Outlook and navigate to your calendar by clicking on the calendar button on the bottom left corner of the window:

Go to the Home tab at the top of your screen. Click New Meeting.

A meeting window will appear:
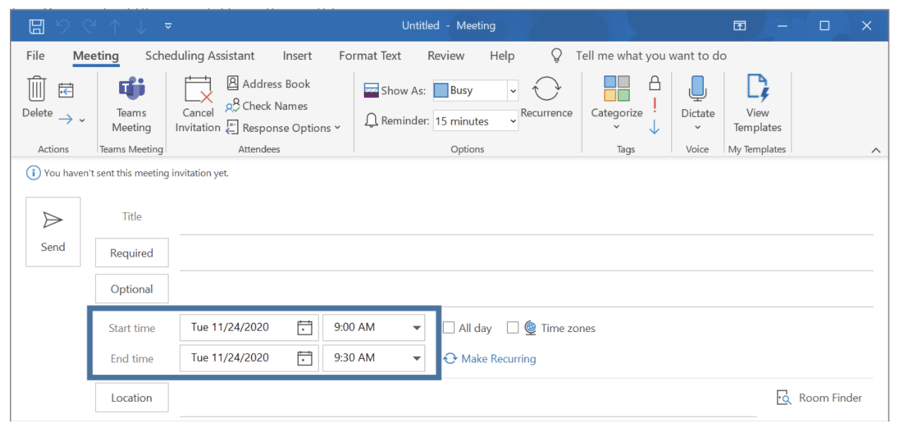
Give your meeting a title (in other words—a name). Use the dropdown calendars and time fields to set the start time and the end time.
Invite others
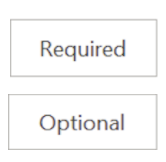
There are two fields used to invite participants: the “Required” field and the “Optional” field.
Required: contacts who are required to attend the meeting.
Optional: contacts who may attend the meeting but are not required.
If your invitees are your regular correspondents, start typing their names in either field and their contact should appear. If you’ve never emailed them through Outlook before, click the Required or Optional buttons:
A list window will appear. Search for and select attendees selecting them and then clicking the Required or Optional buttons, adding them to either list. Once the contacts have been added, click OK.
Book a room
Now that you’re back at your meeting window, you’re ready to book a room. Click the Location button.
Choose a room or location to host your meeting in. If you’re not sure about the names of the room, ask IT or someone in your company for a room list or advice. Add the room to your meeting by clicking Rooms. Then click OK.
The best thing about meeting room systems – such as Joan 6 – is that unavailable rooms won’t show up on your calendar. So you can be absolutely sure, there’s no conflict. Well, at least when it comes to meeting rooms…
Check availability
A trick of the trade is to check everyone’s availability. Go to the Scheduling Assistant tab at the top of the meeting window.
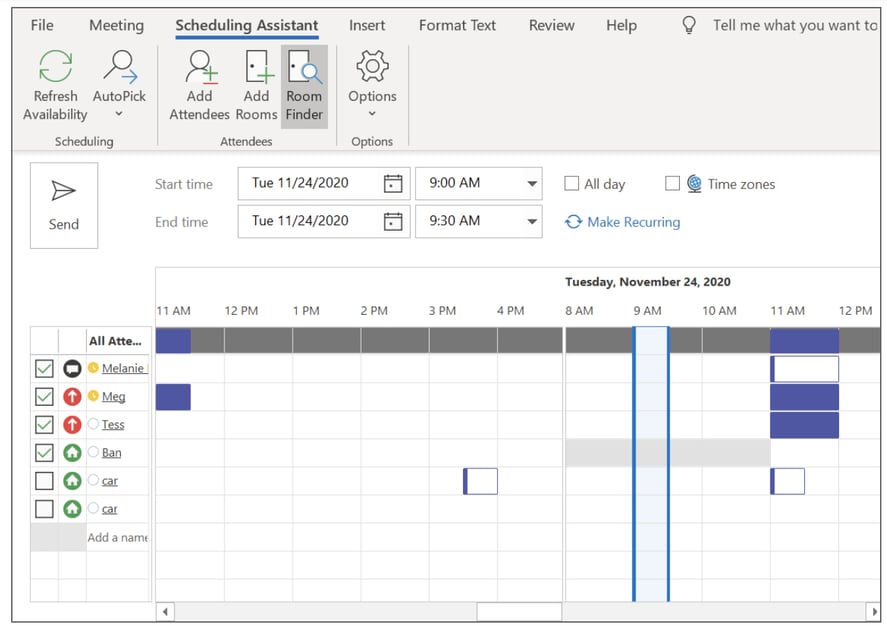
You’ll see an hourly view showing invitees as available or busy. Just like people, rooms can be shown as busy too. If you can, change the time of the meeting to a timeslot when most invitees are available.
TIP: You can also invite contacts in the Scheduling Assistant window by typing a contact’s name into a blank row in the “All Attendees” column.
Send the invite
Now that you have selected your invitees and have selected a room, it’s time to send your meeting invite! This is the easiest part. Simply click the Send button on the left of the window.

Before long, replies will start arriving in your inbox.
TIP: If you invited a ton of contacts and would rather not get replies from every confirmed invitation, go to the “Response Options” dropdown in the top ribbon under the Meeting tab and deselect “Request Responses.”
What’s next?
Well, the only thing missing is the preparation for this meeting. Make sure everyone receives the meeting agenda beforehand and meeting notes after the meeting.
Here’s how to write a meeting agenda. There’s also a template attached to it to spare you time from working on your own.