

Welcome to joan
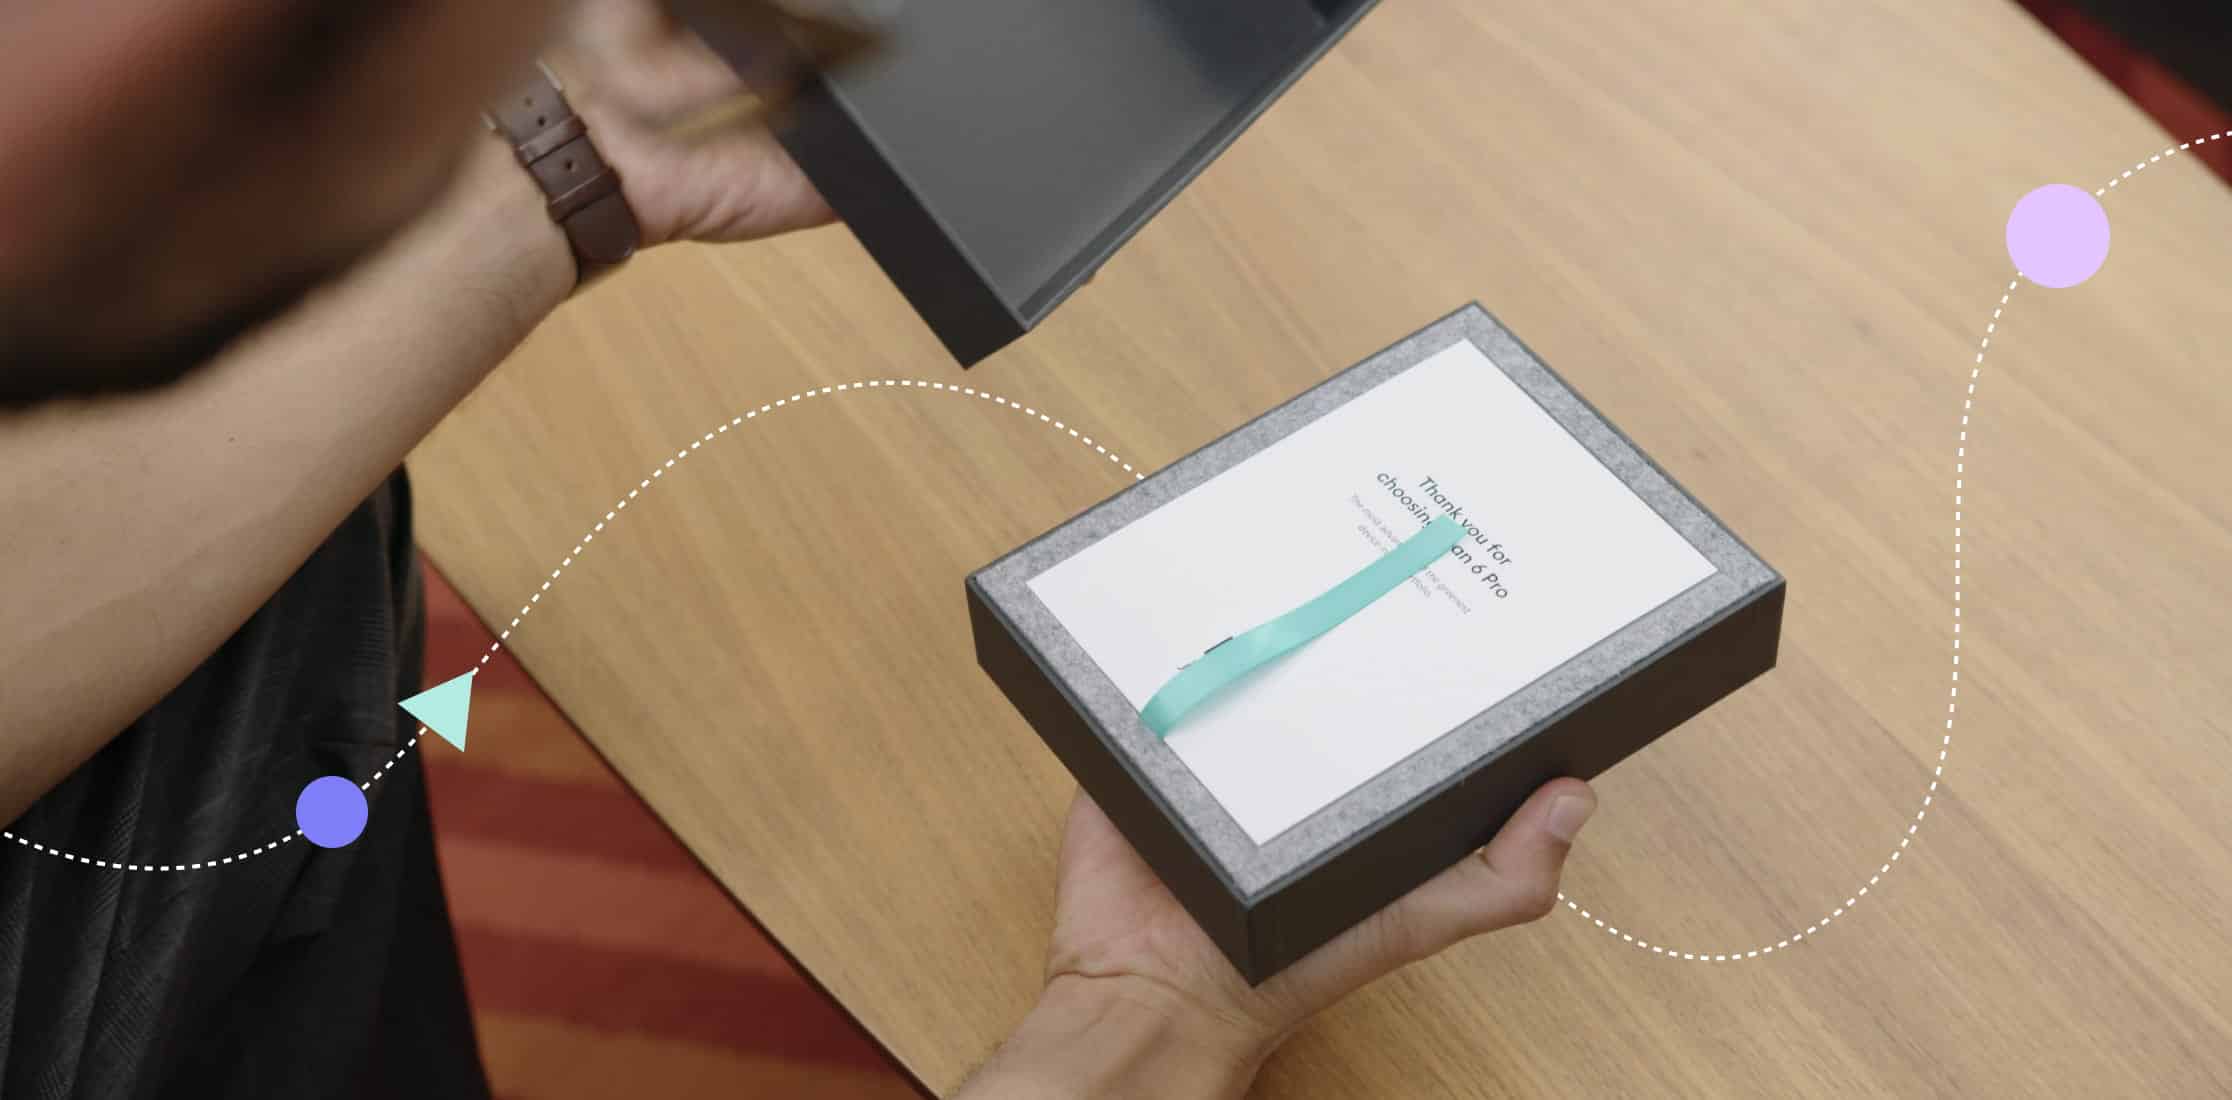
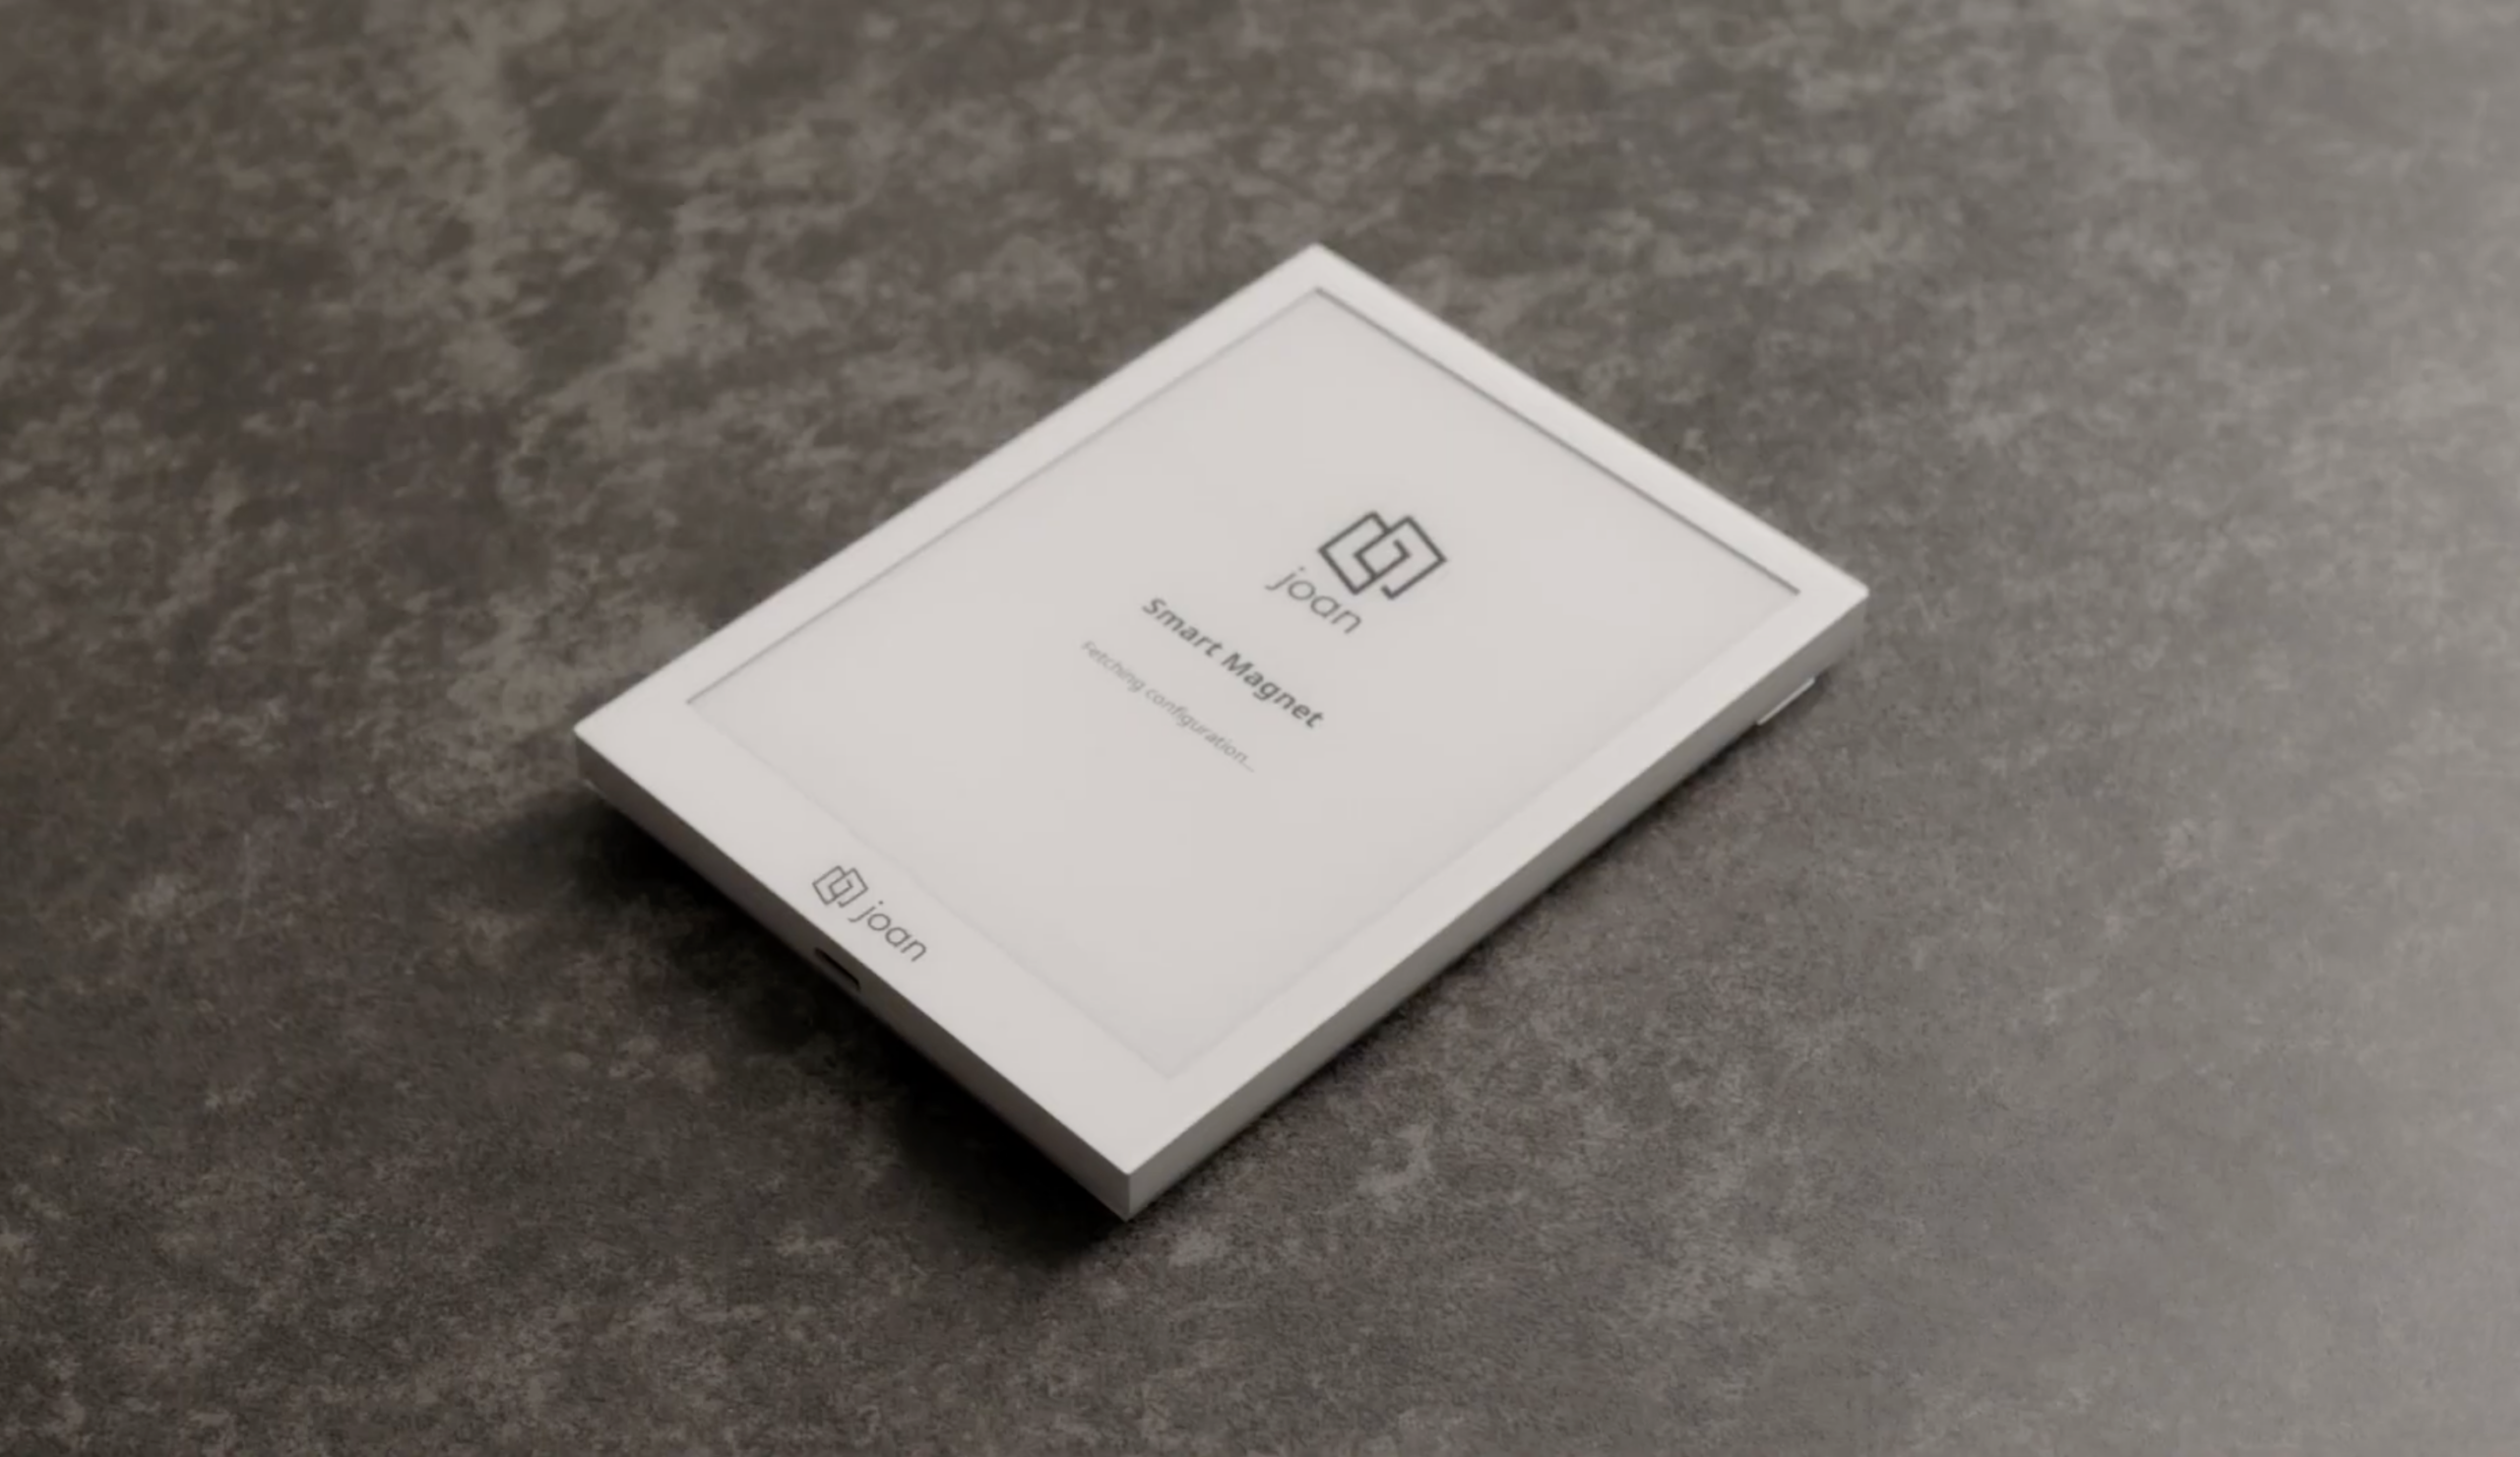
Your brand new Joan device is now in your hands
If you are looking for a power button, there is none. Joan is already on.
For a smooth and pleasant onboarding, follow the few simple steps below.
For detailed instructions read our Knowledge base article.
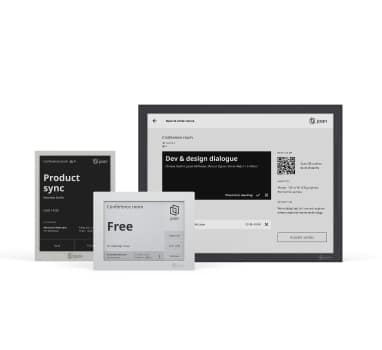
Select your device below for instructions


Onboard Joan in 4 simple steps
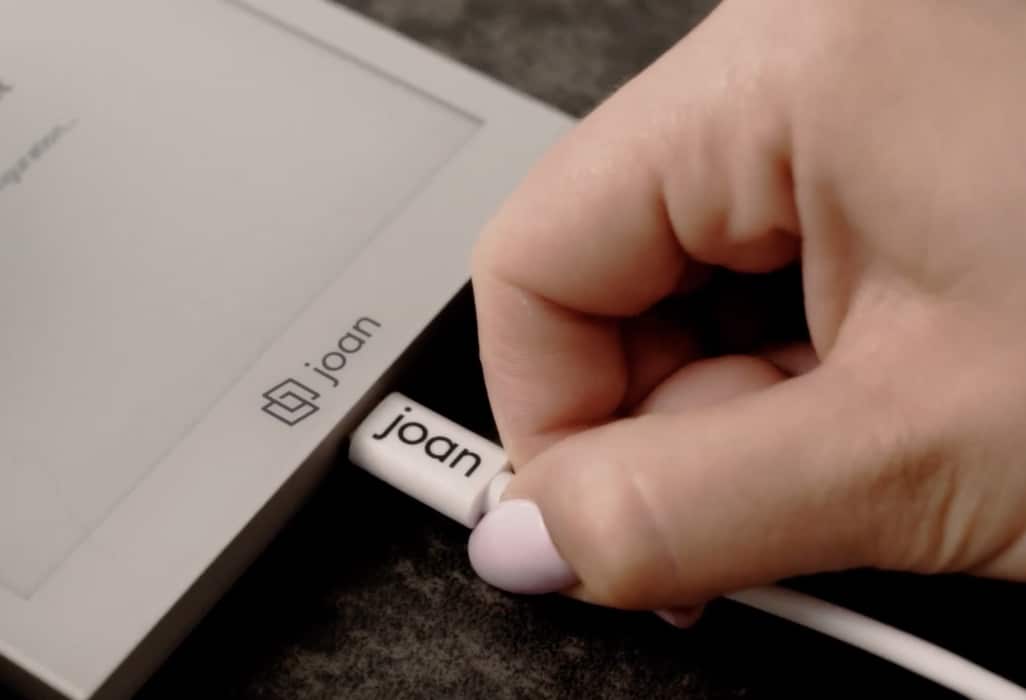

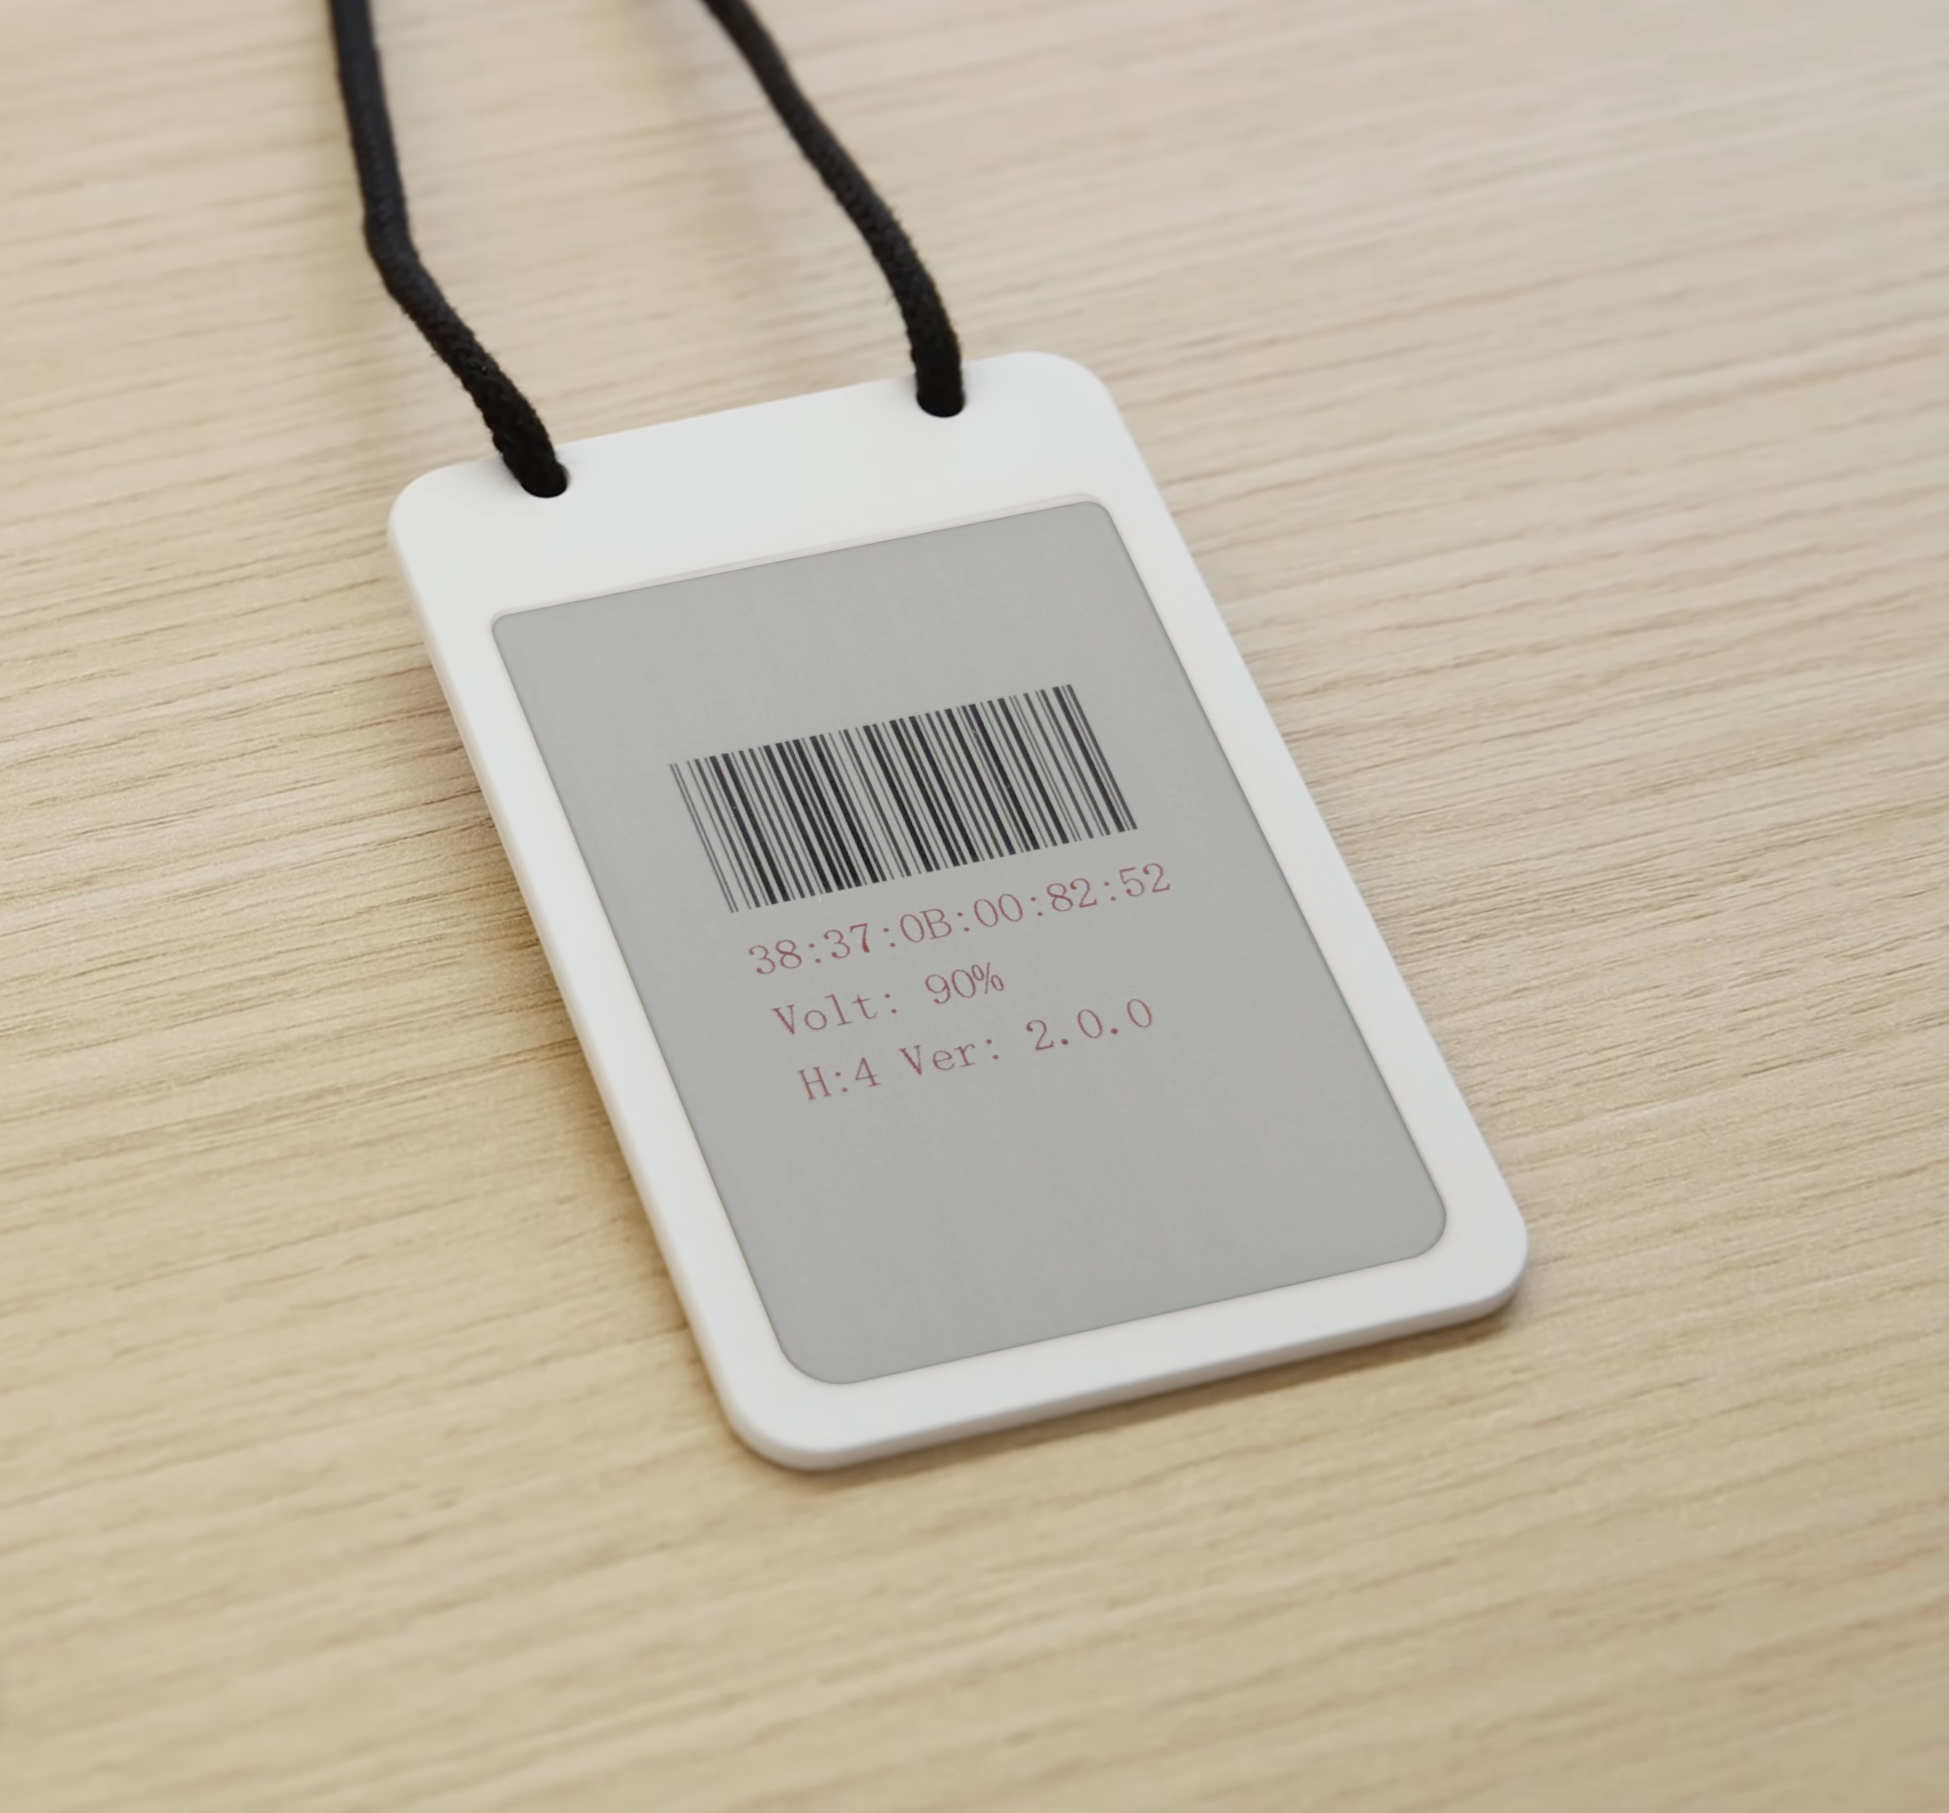
1. Wake up the device
Connect the device to any USB power source (your computer, phone charger) with the included USB cable to wake it up from sleep standby.
2. Configure your device
Click on the link below to download the app.
After downloading, open the Joan Configurator app, connect the device to your wireless network and enter the password for it. For detailed instructions read this article.


3. Visit my.getjoan.com
Create your account on my.getjoan.com and pair your device. Read how to do that here.
Joan supports
Google Workspace (Google Calendar), Microsoft 365 (Outlook / Exchange Online), Microsoft Exchange on-premise, Microsoft Teams, iCalendar (.ics), Slack, and Zoom.
Click on logos below for appropriate instructions.


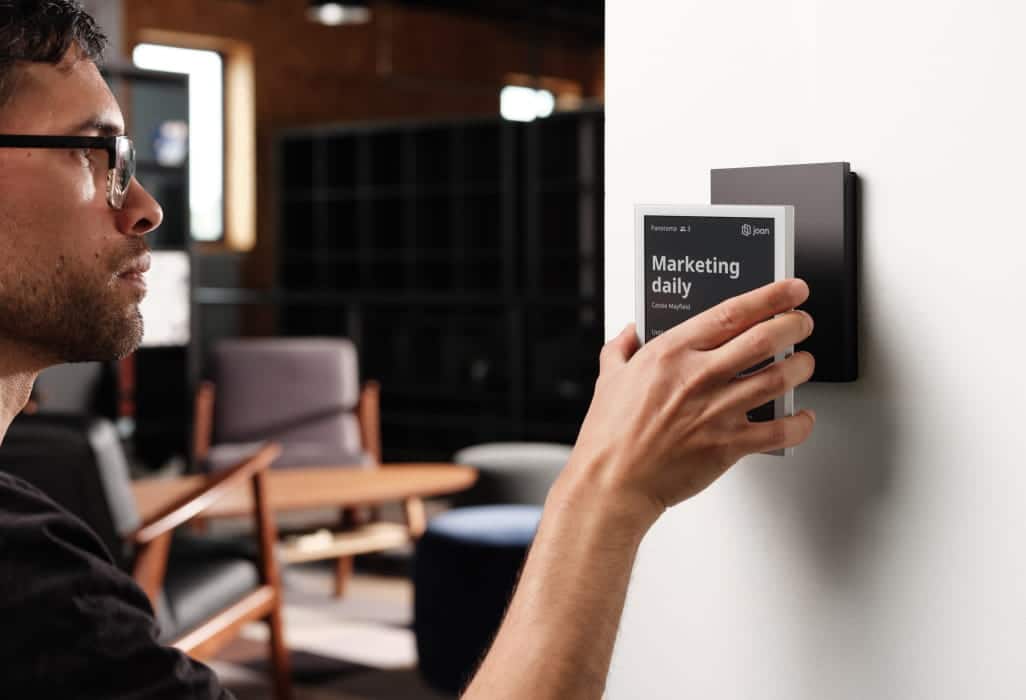
4. Mount your device
— Joan’s magnetic mount ensures a hassle-free installation in mere minutes, with no additional costs.
— Devices can be mounted at a maximum height of 2 meters.
— Select a clean, even surface.
— Firstly detach the top magnet from the back of your device. Never attach the magnet together with the device.
— Peel off the foil, attach the magnet to the surface. Rub firmly, wait for 30 minutes. Place your device on the magnet.
— See tutorial video.