You create your event on the web at events.getjoan.com: choose a badge design, fill in the attendee spreadsheet for that design, name your event and import your attendee list. We recommend you do this on a computer.
- Open events.getjoan.com.
- Log in with your Joan account: the same email we sent the test invitation to.
- Click Create event.
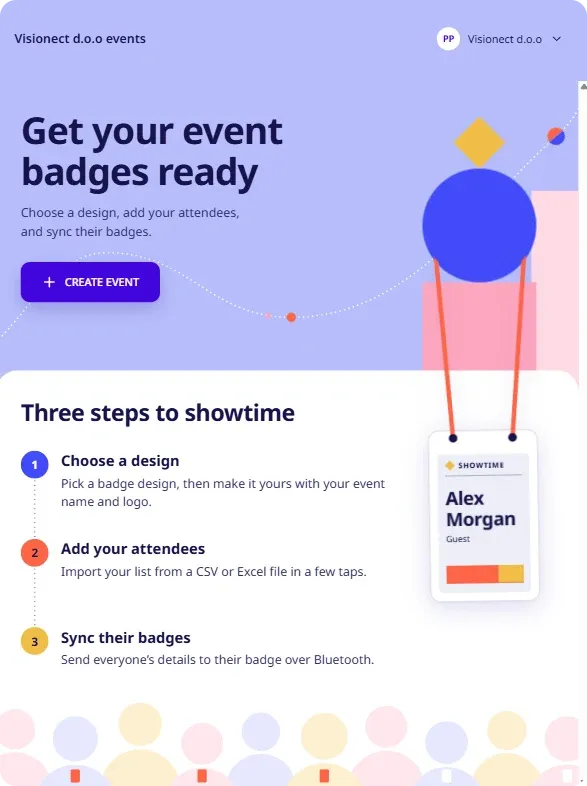
- Pick a design for your badges.
- To see a design up close, click Explore.
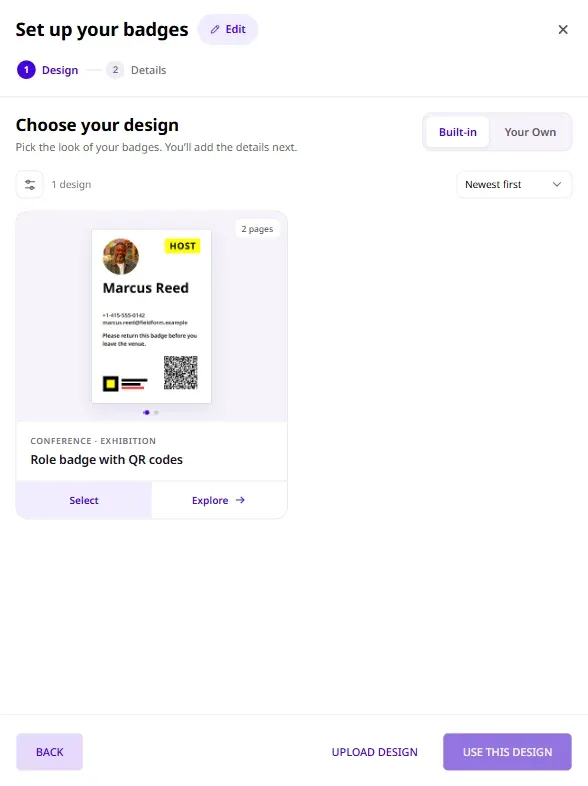
- On the design’s page, click Attendee spreadsheet. You get an Excel file with instructions and sample attendees, made for this badge design.
- Fill in your attendees, following the instructions in the file.
Important
Keep the format of the attendee spreadsheet: the same columns, in the same order. Otherwise the details might not show correctly on the badges, or the badges might not sync.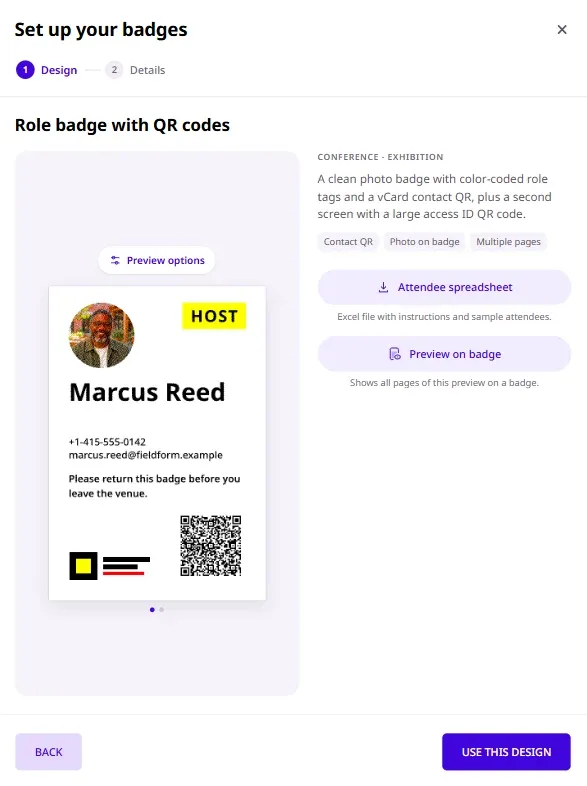
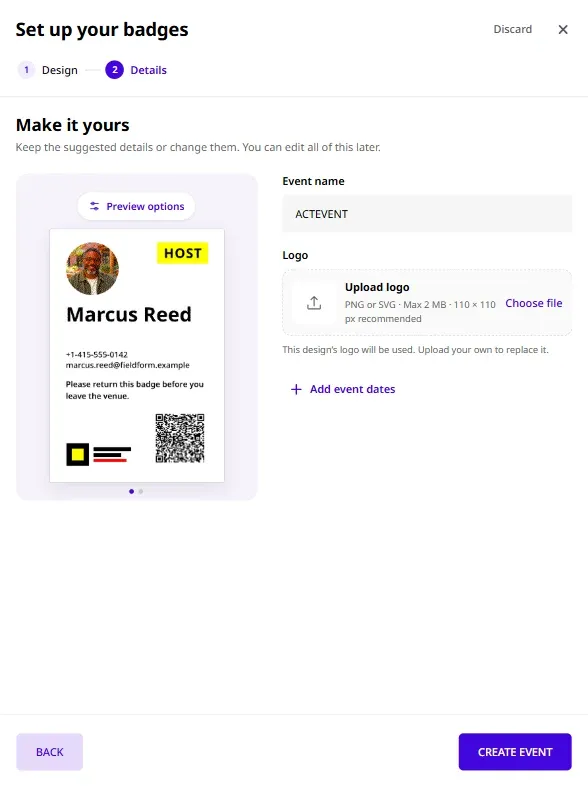
- Enter your event name.
- Upload your logo: PNG or SVG, up to 2 MB.
- Optional: add the event dates.
- Click Create event.
You can change all of this later.
- Click Import attendee list.
- Choose the spreadsheet you filled in.
Everyone on the list gets a badge.
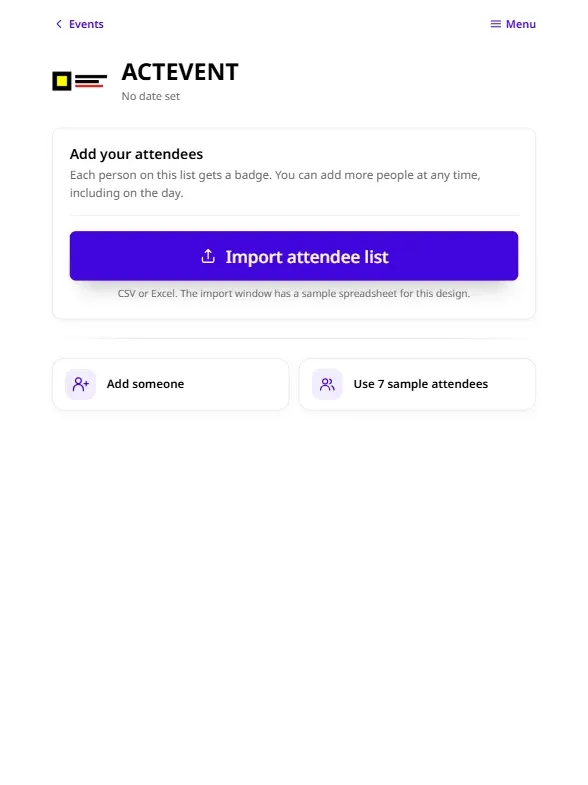
To add people after the import, like walk-ins or late sign-ups, we suggest you add them one by one with Add person.
Sync the badges from the Event Badges app. See Sync event badges.