To learn more about custom content, see Custom content interface on Joan devices.
In order to create a custom content interface for any of your Joan devices, follow the steps below.
For optimal performance on Joan devices, we recommend excluding animations and off-canvas menus from the website you would like to display as custom content.
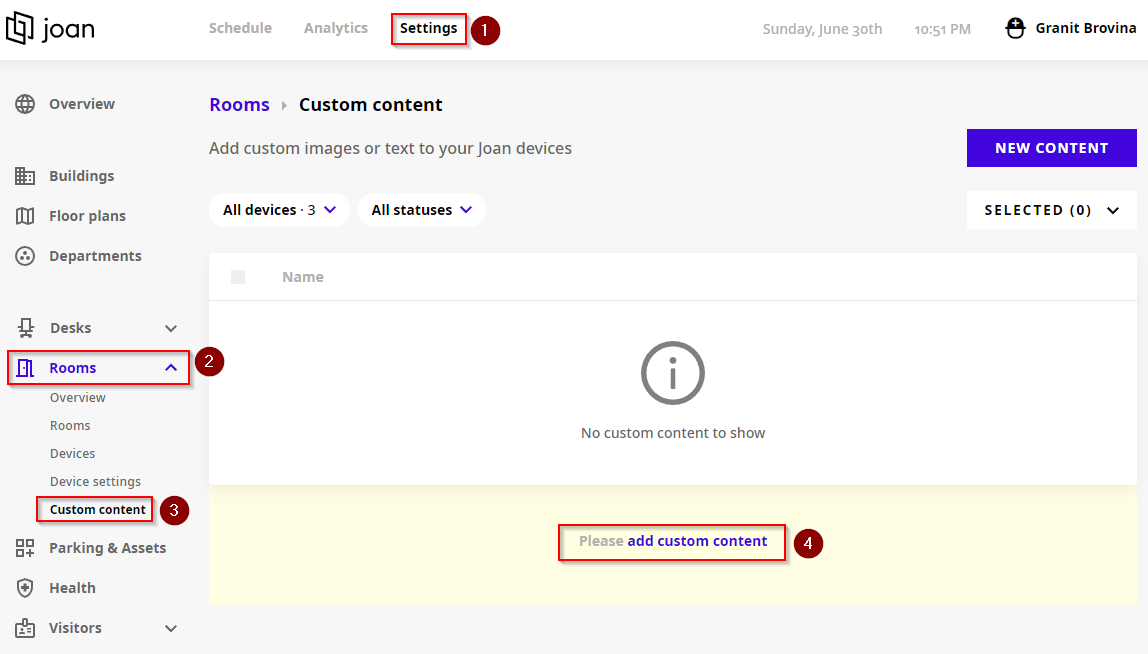
- Log in to MyJoan with your admin account
- Navigate to the “Settings” page via the top navigation menu
- Select "Rooms" - > “Custom content” from the left-hand side menu
- A list of all your custom content interfaces will appear. If you do not have added any so far, click the “add custom content” button
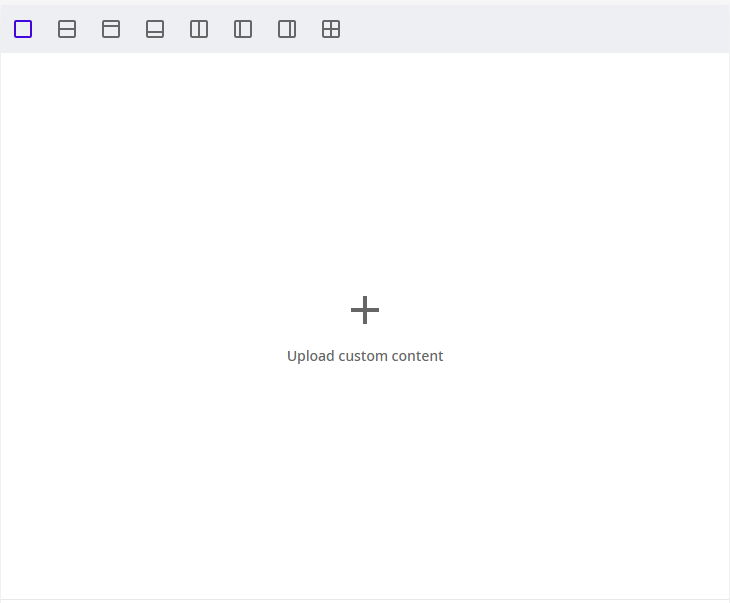
- Select your preferred layout and click the “+” sign
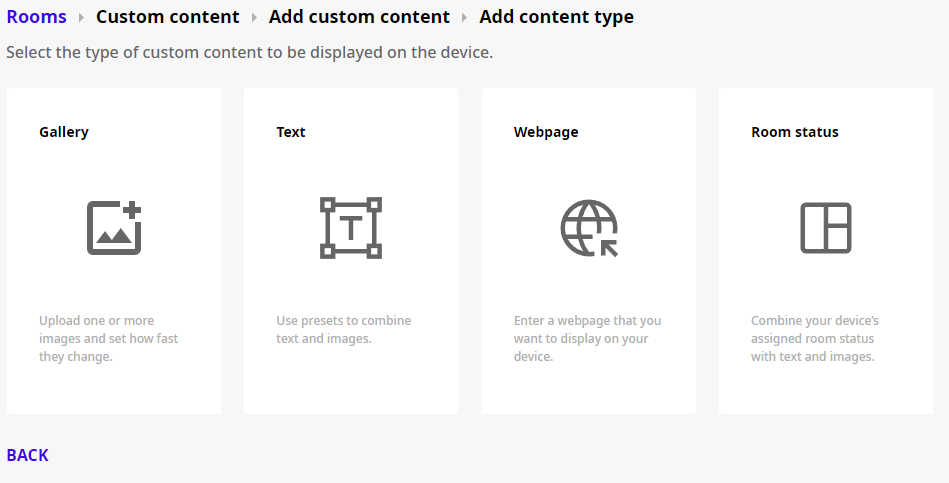
- You can choose between Gallery, Text, Webpage and Room status
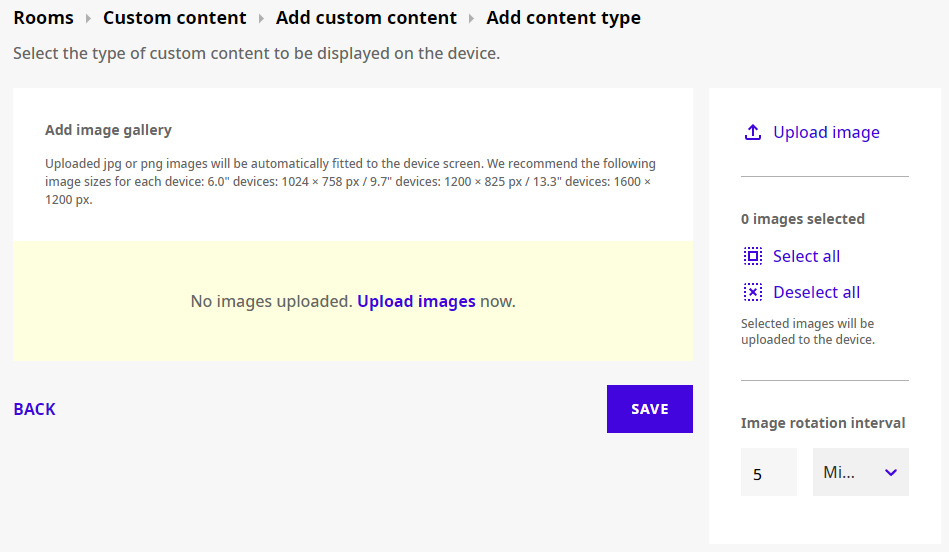
- If you select “Gallery”, click the “Upload” button and select all of the images you wish to add
- Once satisfied with the added images, select the time for each image in the slideshow in the “Interval” section. Enter the amount and select either “seconds”, “minutes”, or “hours”
- Click “Ok”
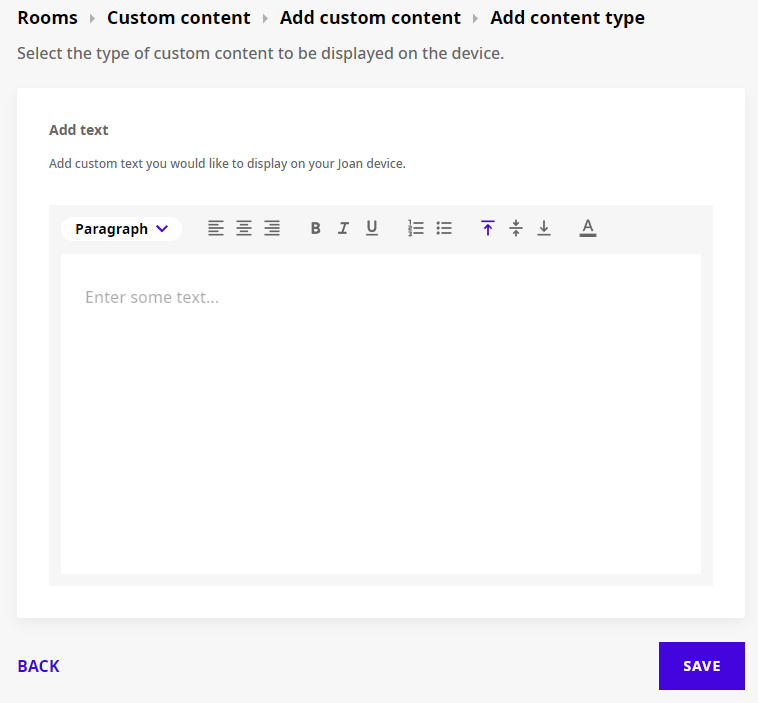
- If you select Text, you can input any text you would like. You can change the font size, positioning, bold, *italics...*
- Unfortunately, it is not possible to change the font type
- Once done, click Ok.
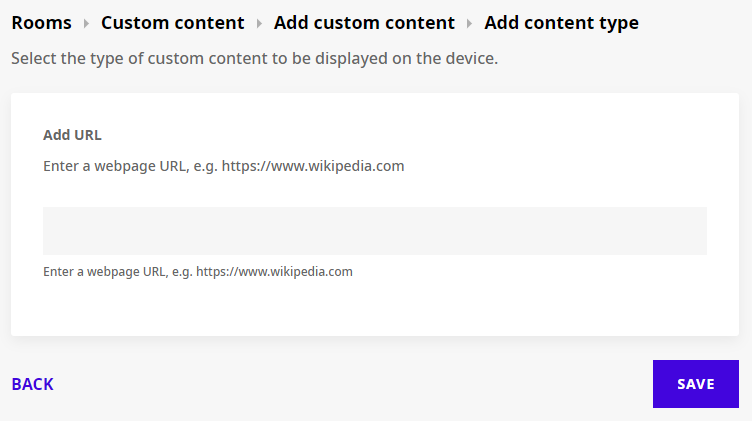
- If you select Webpage, you can put in the desired URL.
Please note, not all webpages will be supported. For optimal performance on Joan devices, we recommend excluding animations and off-canvas menus from the website.
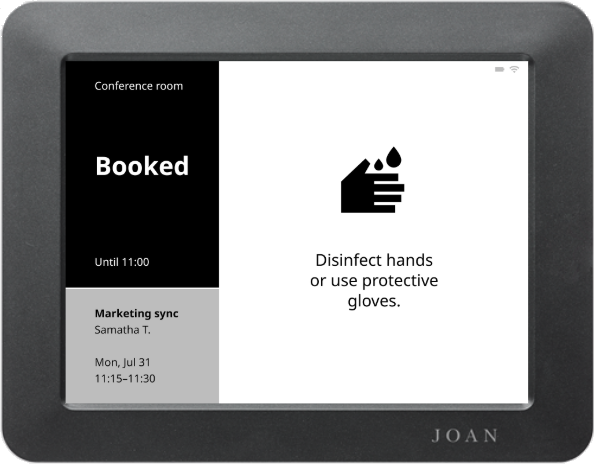
If you select the “Room status” content type, the custom application will display the meeting room information to which your Joan device is connected.
- - - To apply the settings, click "Ok"
Once you have filled up all the sections in your selected layout, scroll down to the bottom of the page.
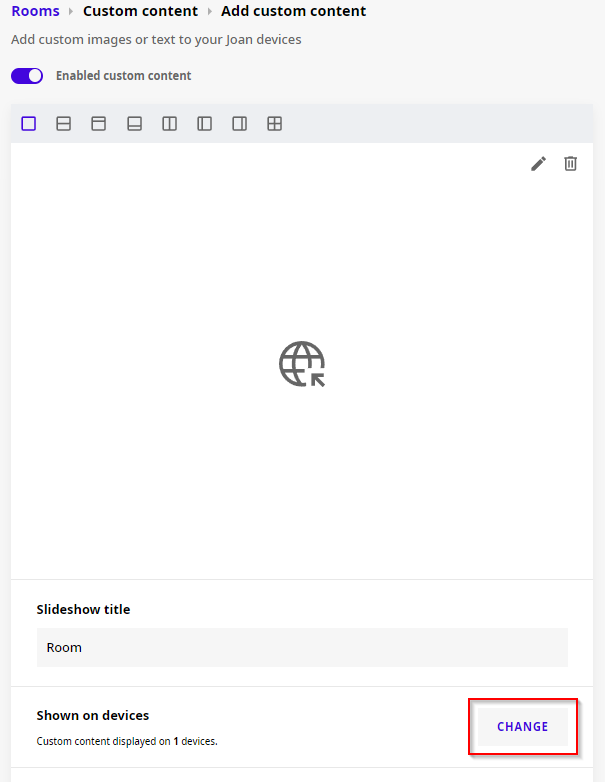
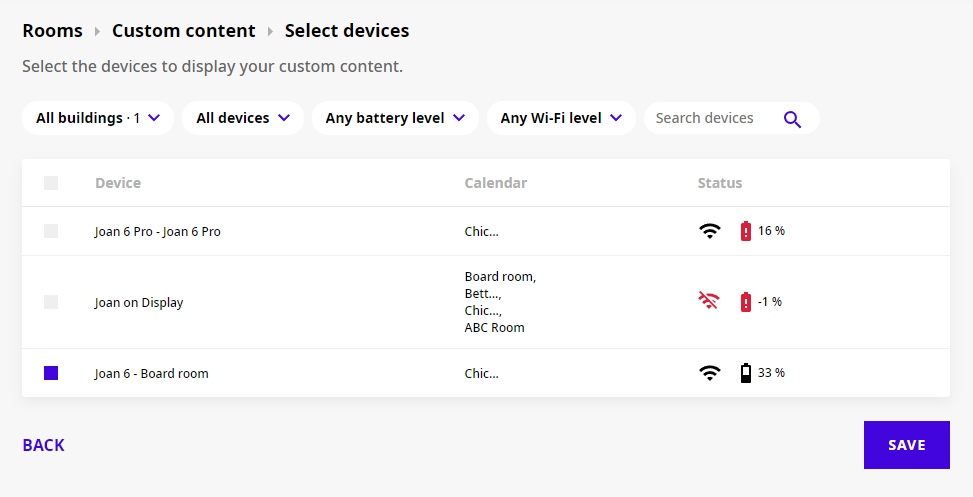
Click “Change” in the “Show on devices” section to assign the interface to your Joan devices.
Click “OK” when you have selected at least one Joan device
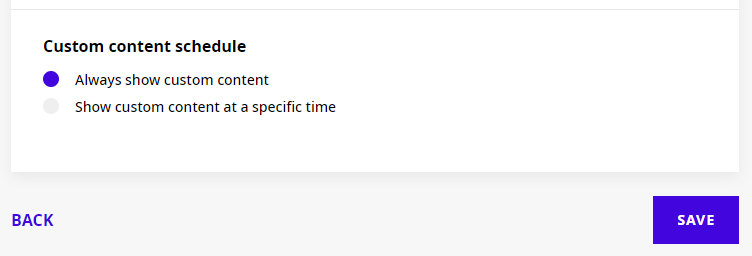
Next, navigate to the “Set custom content schedule” section and click “Change”
- Select either “Always show custom content” or set a specific time for when you wish to display this custom content
- Selecting “Show custom content at a specific time” will allow you to set the start and end date and time and if the content should repeat or be a one-time event
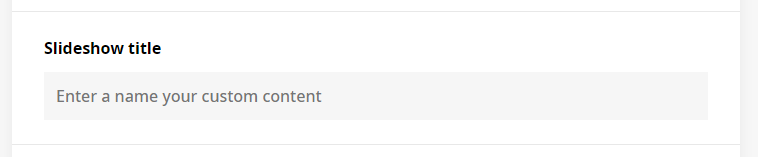
Next, name your custom content interface under “Slideshow title” section
- Enter the name of your new custom content interface
Finally, click “Save” to finish creating your custom content interface
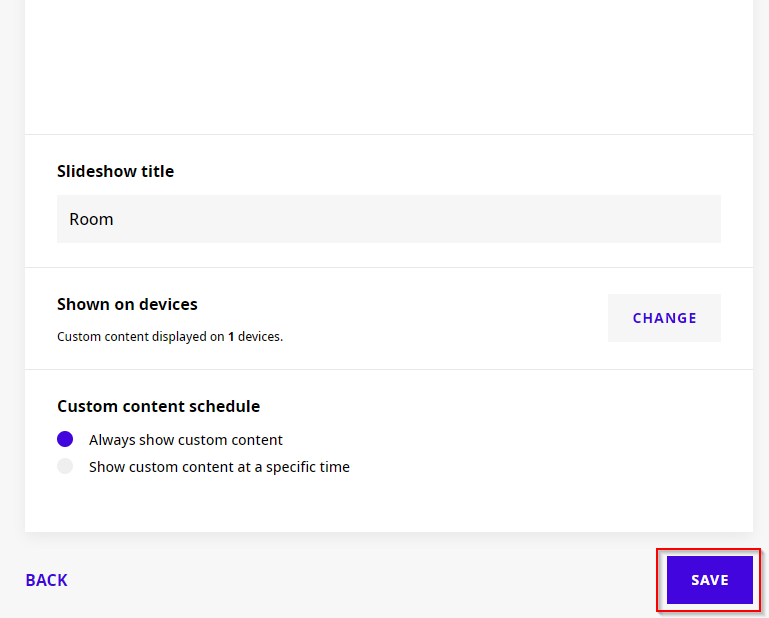
And that’s it! You have successfully created a custom content interface.
To learn how to display this interface on your Joan devices, see How to display custom content on a Joan device.
If you wish to remove the custom content interface from your device, see How to remove a custom content interface from a device to find out how.
*If you encounter any issues, please contact support@getjoan.com.